WIP - Rock Pilgrimage

Work In Progress / 22 November 2024

I did a bit of work in progress with an environment piece. It has been great! Let me share it with you!


November 2024 - WIP

Work In Progress / 21 November 2024

I wanted to share some stuff that I have been doing for the past few months. Nothing completed as this is all just work in progress. I am still learning to finish work, and work just a few things at the time. However it is hard because I always crave for novelty, and a lot of times I really like to explore and play. However I am trying to adhere the rule to stick to just 2 projects at a time to get more completed projects

Thor - Character

So this is a character block-out that I did with shapes to show my students how to start prior with making a character. The secondary shapes are important to block out before combining them into a dyna mesh, and then remeshing them. 

Tholos

Been working on a greek mythology ancient architecture for my environment. I wanted to learn how to work with modularity while learning about Greek architecture. I do have the whole building blocked out, and now I am in the process of art blocking a lot of the elements to implement in Unreal. 
I do have the roof tiles in place, but also some of the walls and other pieces. I did change the over-all design a couple of times. 

Rocks

And last, been working on an environment that is focused on a naturalistic approach on sculpting rocks. 

I was initially going to build a rock garden with some simple rocks, but then I decided to give it an approach where there's more storytelling with the concept of pilgrimage.

Anyways this is just an "art dump" of stuff that is not portfolio ready, but I wanted to show some of the work that I have been doing in the past few weeks. 

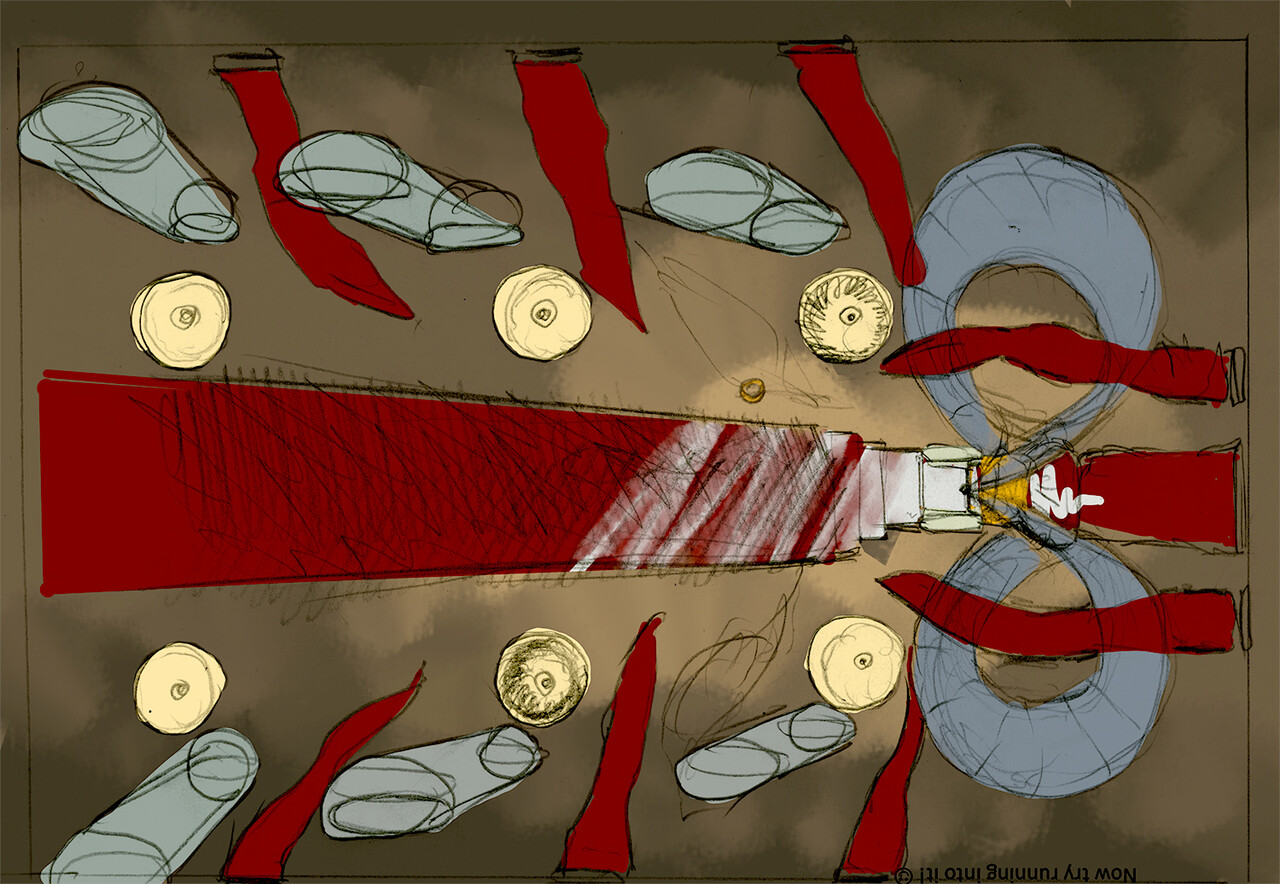
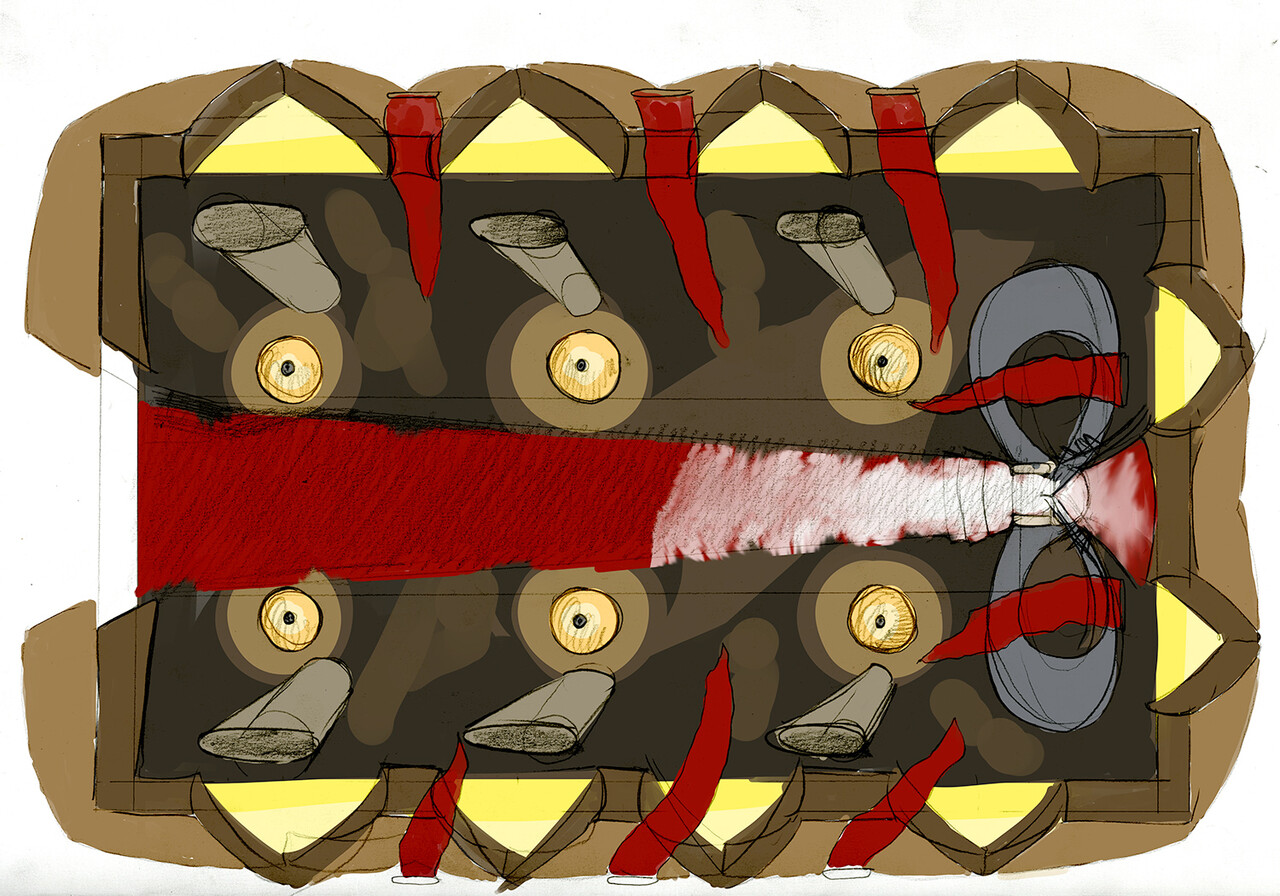
This is a draft concept art with composition and values in mind to place some of the assets while providing some context of a traveling path. 

Some of the block-outs that I did, but I was not happy to this so that is why I did the concept art above later (going a step back) 

p


sRBG values Remedy Alan Wake 2

General / 24 September 2024


I recently came across a GDC talk from Remedy by surprise, and I wanted to save these "safe" albedo color values in a more accessible format. I’ve taken screenshots from the video and saved them here. While the colors might not be 100% accurate, I color-picked them, and the values are close enough for the 0-255 range.
According to the slides, this research was originally based on work from Remember Me, which was done a few years ago.

For albedo, the darkest blacks should sit around a value of 50, unless you're working with black plastic, where it can go down to 30. The brightest values should be capped at 232, except for fresh snow, which can reach 243. The reason behind this is that, unless you're dealing with absolute black, even dark colors reflect some light.

I’ve also included a screenshot showing the albedo values for metals. You can find more of these guidelines in the Substance documentation here, the PBR Guideline.

The talk, given by Benjamin Lindquist and Miro Vesterinen, also covers some interesting techniques they used in their environment design.

If anyone knows of a tool for Substance Painter or Designer that can help check albedo values to ensure they're not too bright or too dark that simulates what Benjamin is doing, (or perhaps make one for us AS!) please let me know! I'd love to share it in this article.

All rights to the slides and content belong to Remedy Entertainment.


Quick Maya Tips: How to make Group instances!

Tutorial / 13 September 2024

I've been hard at work on new tutorials for my YouTube channel: Paco 3D Art!

In this video, I’m excited to highlight the benefits of creating group instances in Maya! This technique is perfect for duplicating repetitive areas in architectural designs, or for mechanical features that require symmetry along multiple axes. What’s even better is that you can add additional deformations later, or use the Duplicate Special options to customize scale or rotation for each instance group.

One of the coolest features is that when you add an object to the master instance group, it automatically propagates to every instance. This is super handy, but it’s also something that tripped me up when I first started working with it.

If you're short on time, feel free to skip ahead to around the 4-minute mark (there are also chapters!). Below, I’ve included a screenshot of the steps. The key trick is to create an additional "null" group and use Duplicate Special while selecting the parent group.

Hope you enjoy this quick Maya tip! Video is below the image. Remember to subscribe if you have enjoyed the video! 


Intro to Maya - Lesson 9: Maya Components

General / 14 August 2024

I created a tutorial that explains what are components in 3d modelling within Maya, and how to switch rapidly between these component types. But also on how to make some component selection tips and techniques.
Have a look on this free educational video on how to use Maya. 

For any other introduction tutorials on how to use maya feel free to come to my channel at youtube.com. 
With time the tutorials will improve with quality as I make more content. Feel free to subscribe! 
Intro to Maya Lesson List

Throne room RMIT 2010 (OLD WORK)

Making Of / 23 February 2024


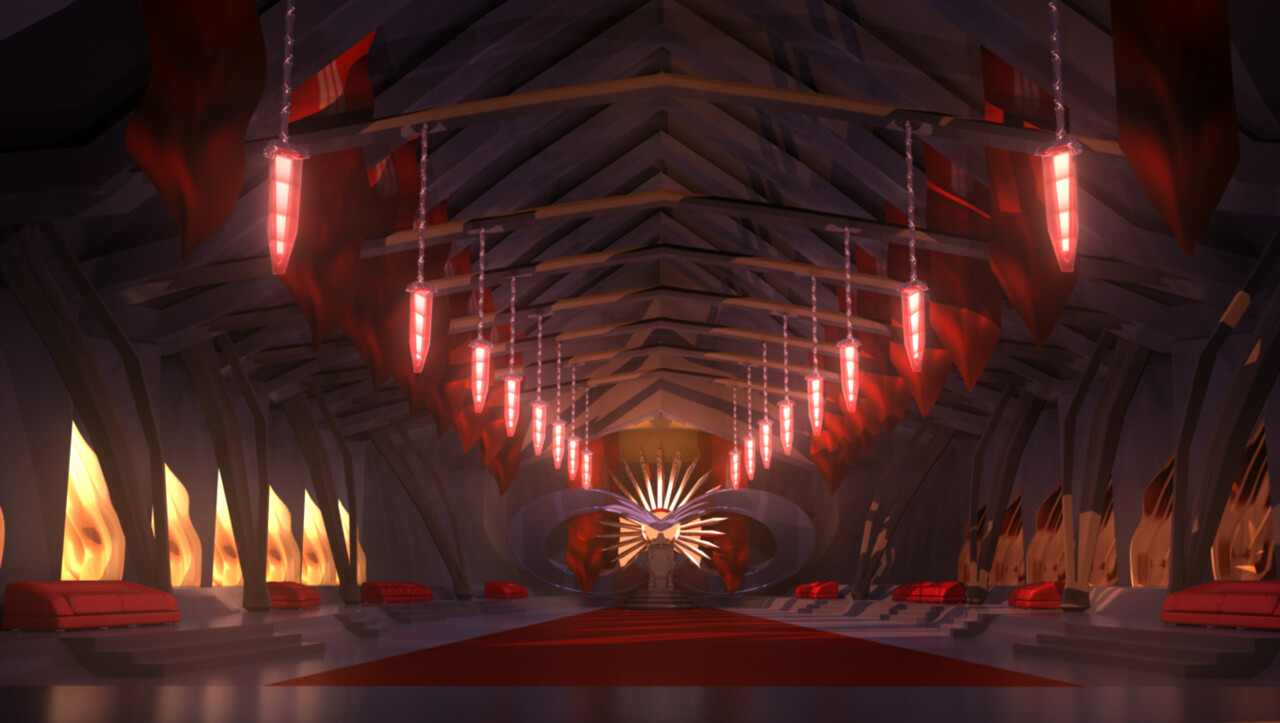
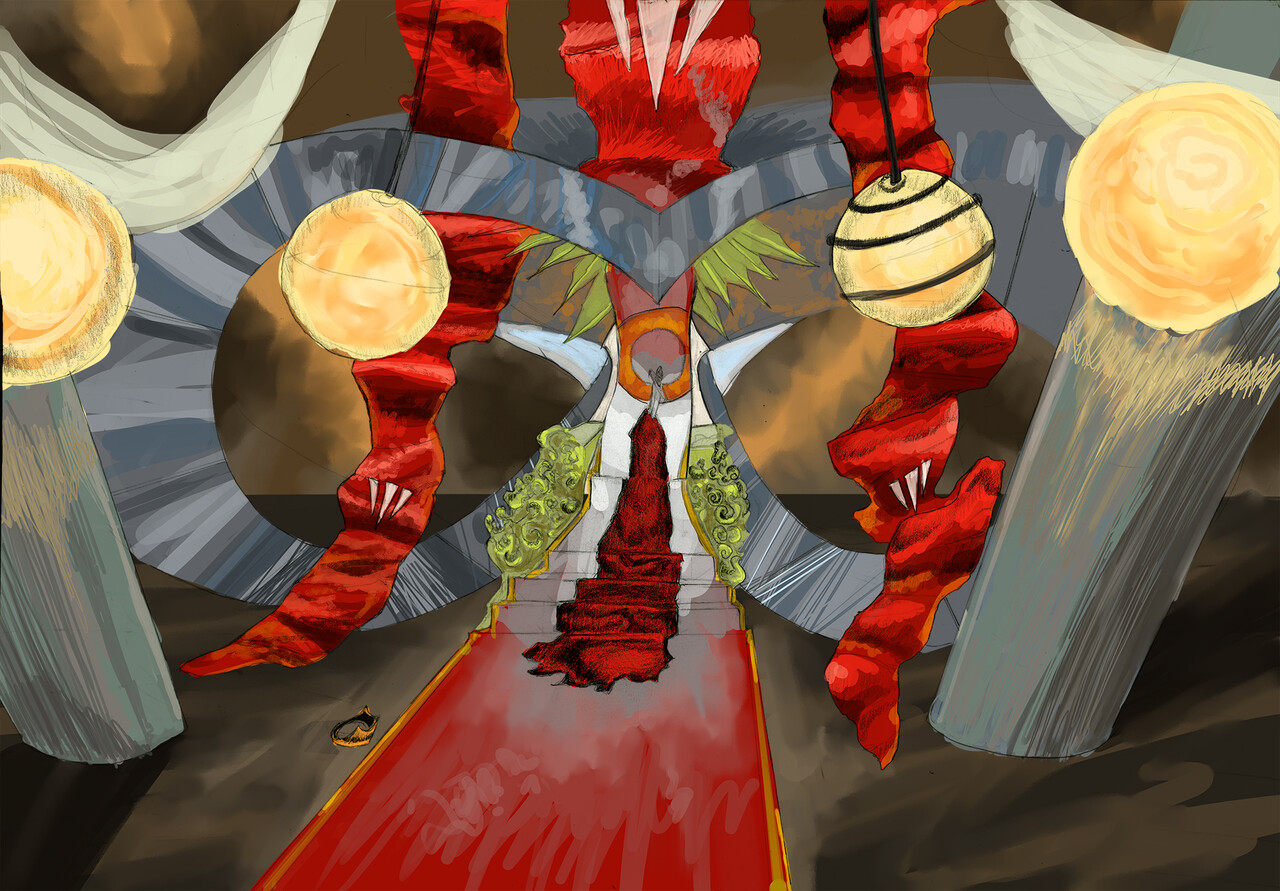
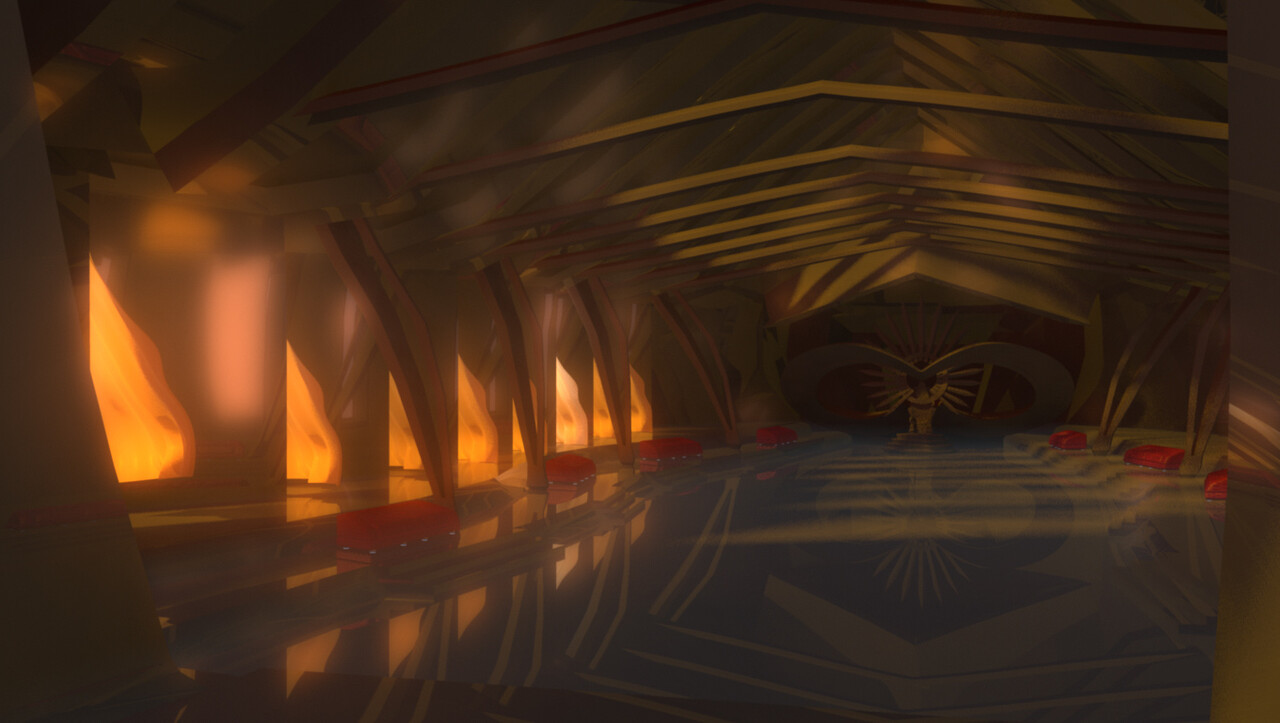
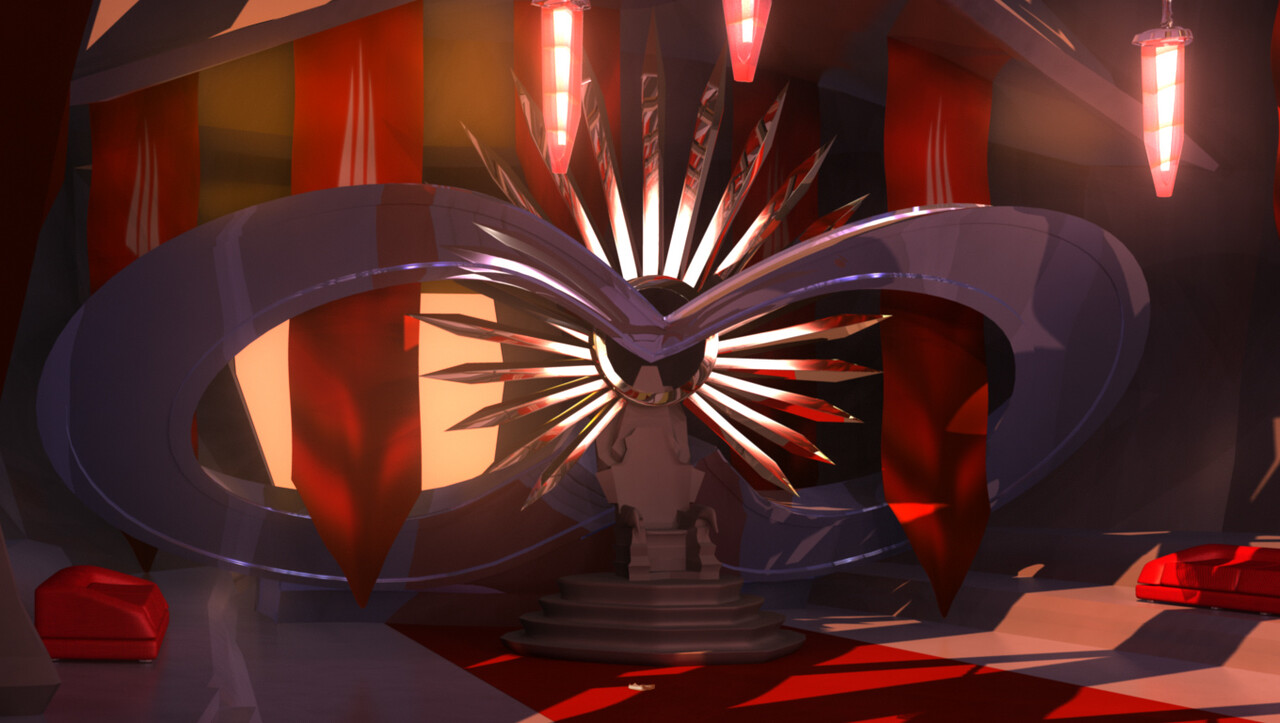
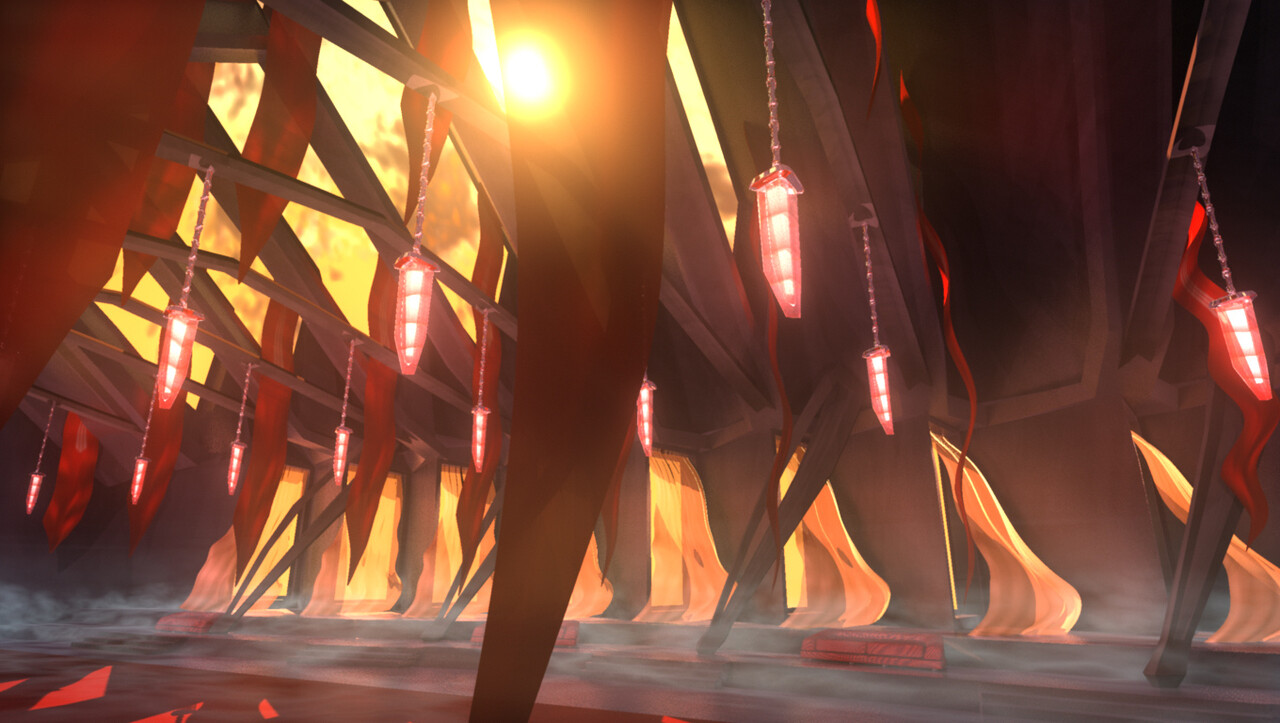
As I delve into the archives of my computer, I stumbled upon a piece of artwork from my university days in 2010 that I had shared on my old website. This particular creation holds sentimental value as one of my earliest ventures into 3D art using Maya during my time at RMIT.


Back then, my grasp on modeling was in its infancy, and my understanding of Mental Ray was rudimentary at best. The rendering process was quite a challenge, with each frame taking a staggering 50 minutes due to the inclusion of intricate god rays, glows, and refractions involving crystals.

To meet the deadline for a 20-second animation and lacking batch rendering skills or techniques at RMIT, I resorted to an unconventional approach. Over the course of two days, I loaded my files onto 17 class MAC computers, distributing the rendering workload across multiple machines. This required me to stay overnight at the university, catching some sleep while the images rendered.

The effort paid off, and I received a commendable grade of 86 for Imaging and Animation. Interestingly, the piece became a reference for future learners, as my teacher used it to exemplify what could be achieved. Although it's too antiquated to feature in my current portfolio, I felt compelled to share this piece with you all.


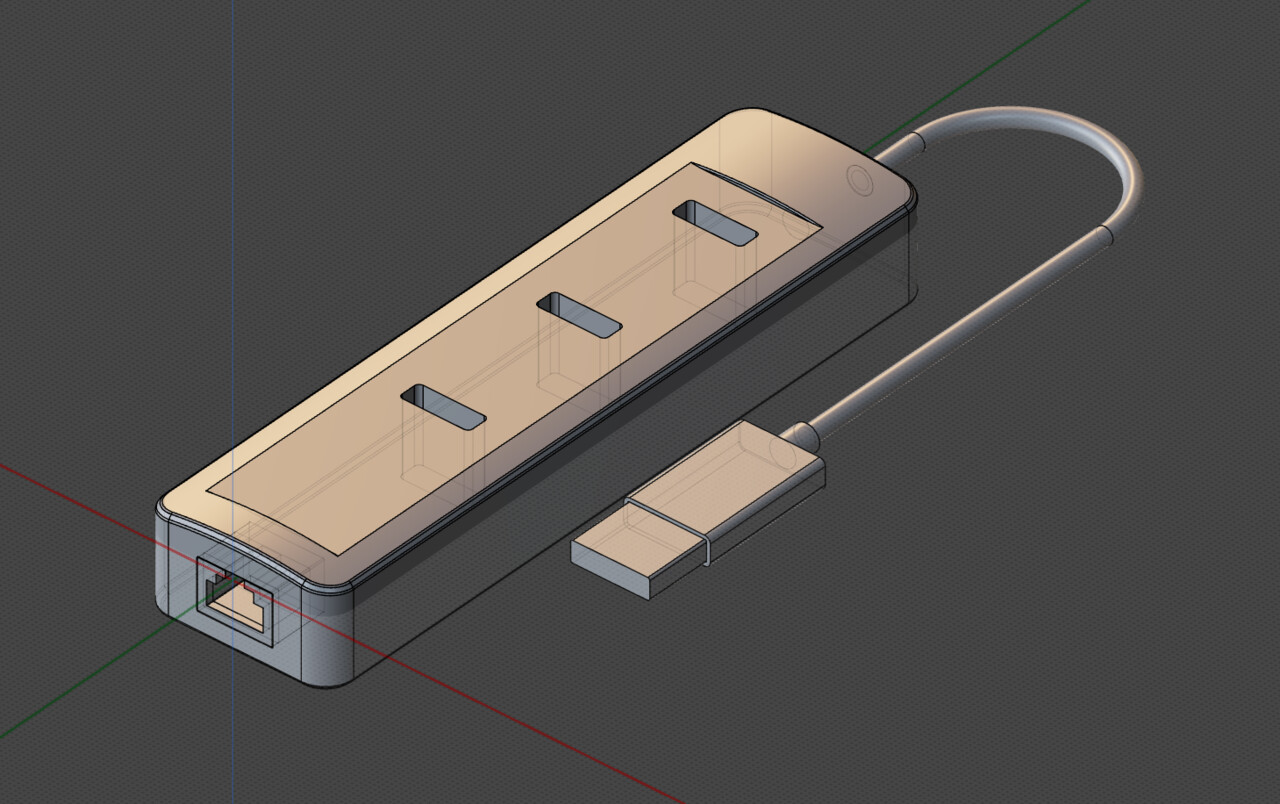
Portable Console WIP

General / 20 February 2024

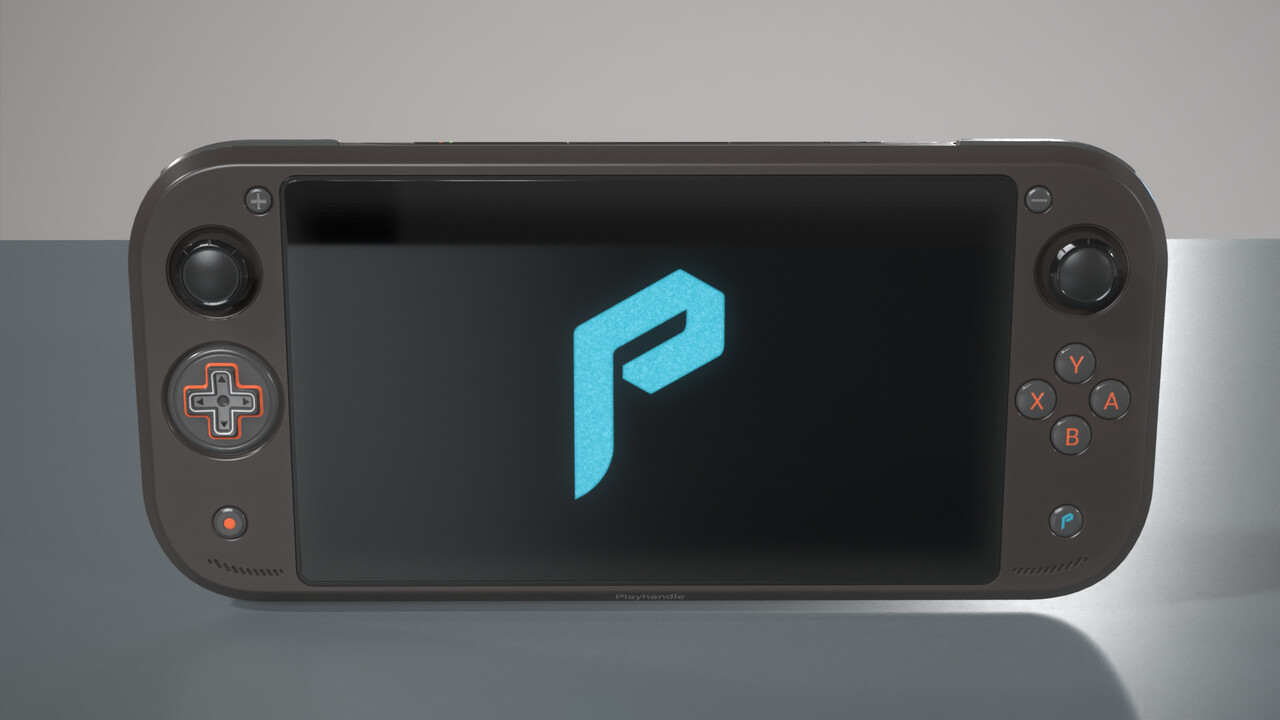
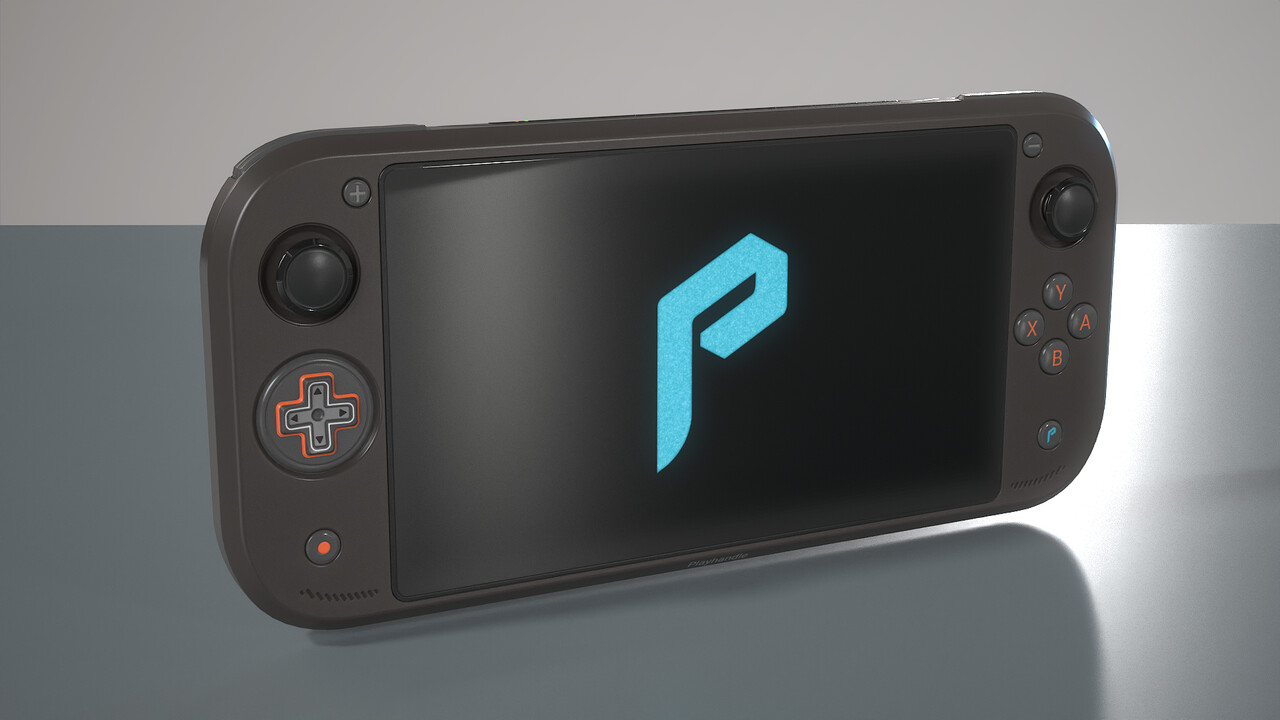
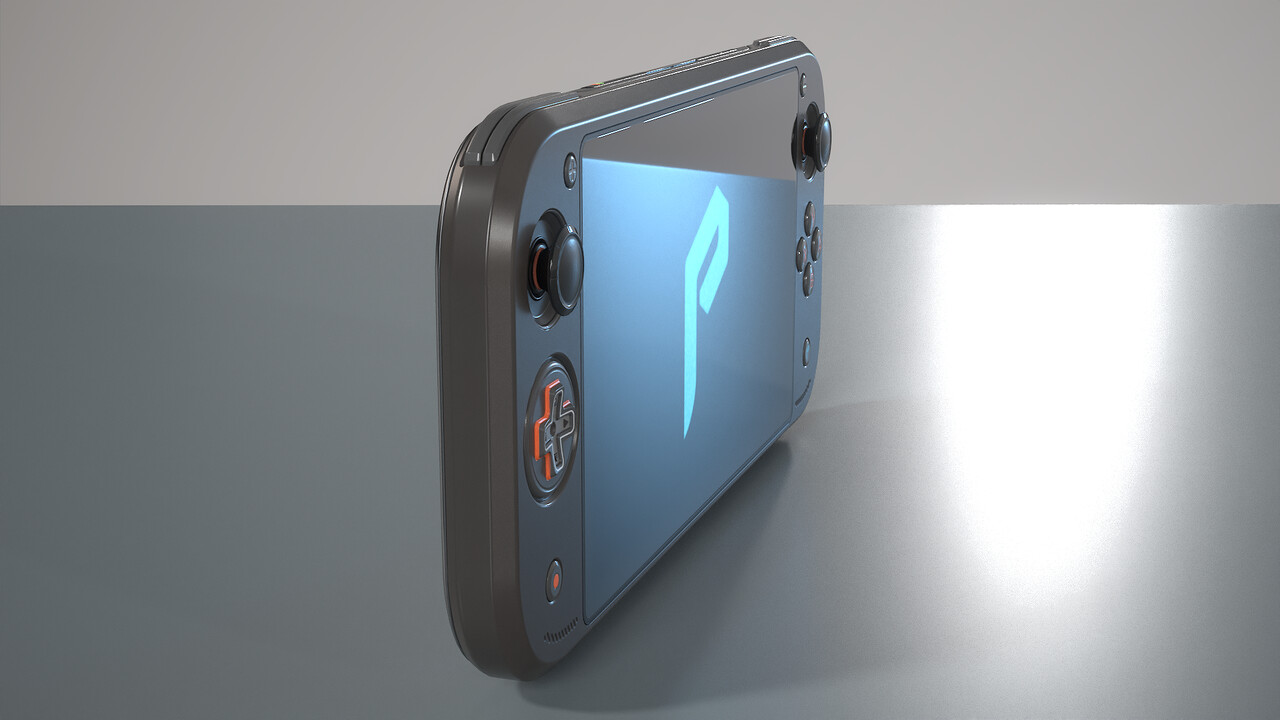
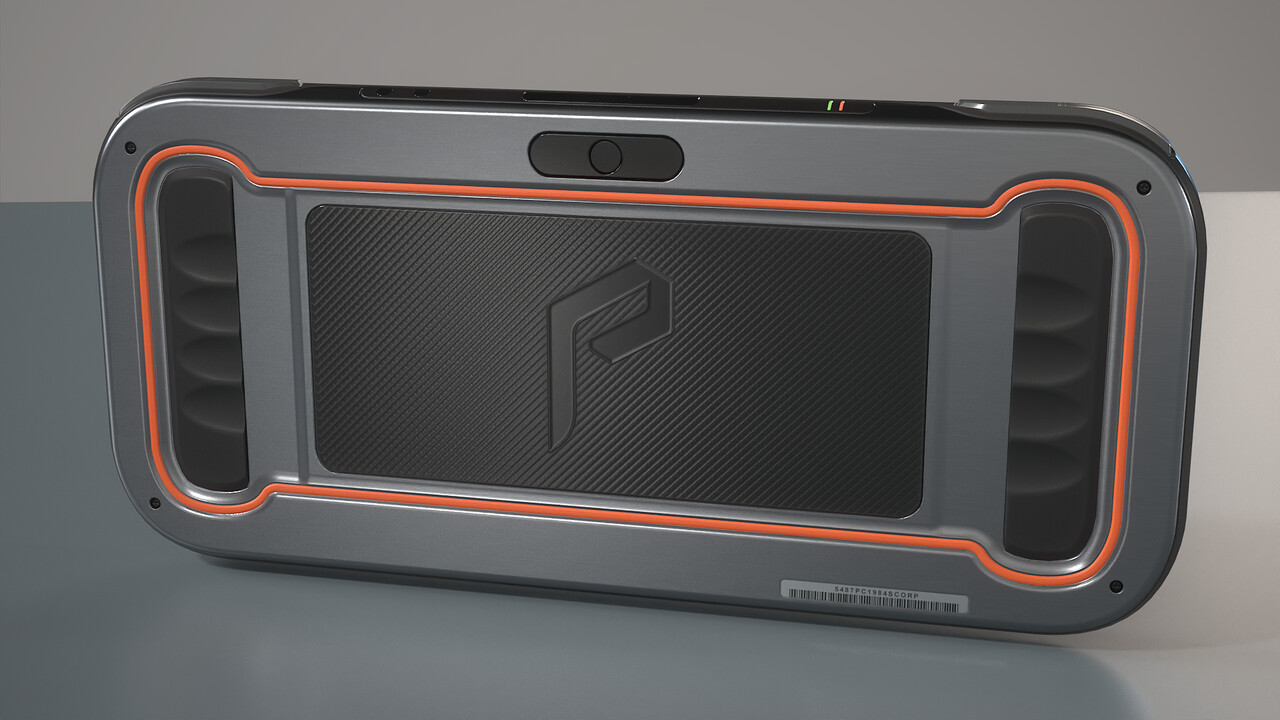
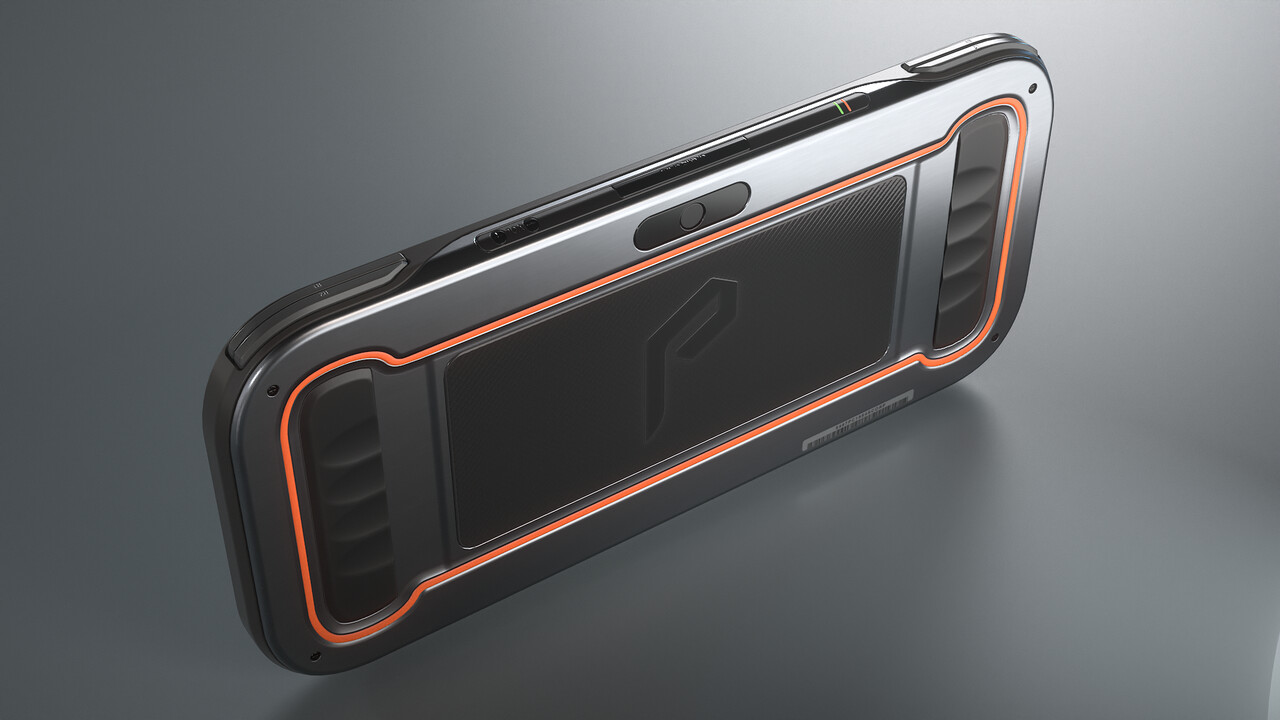
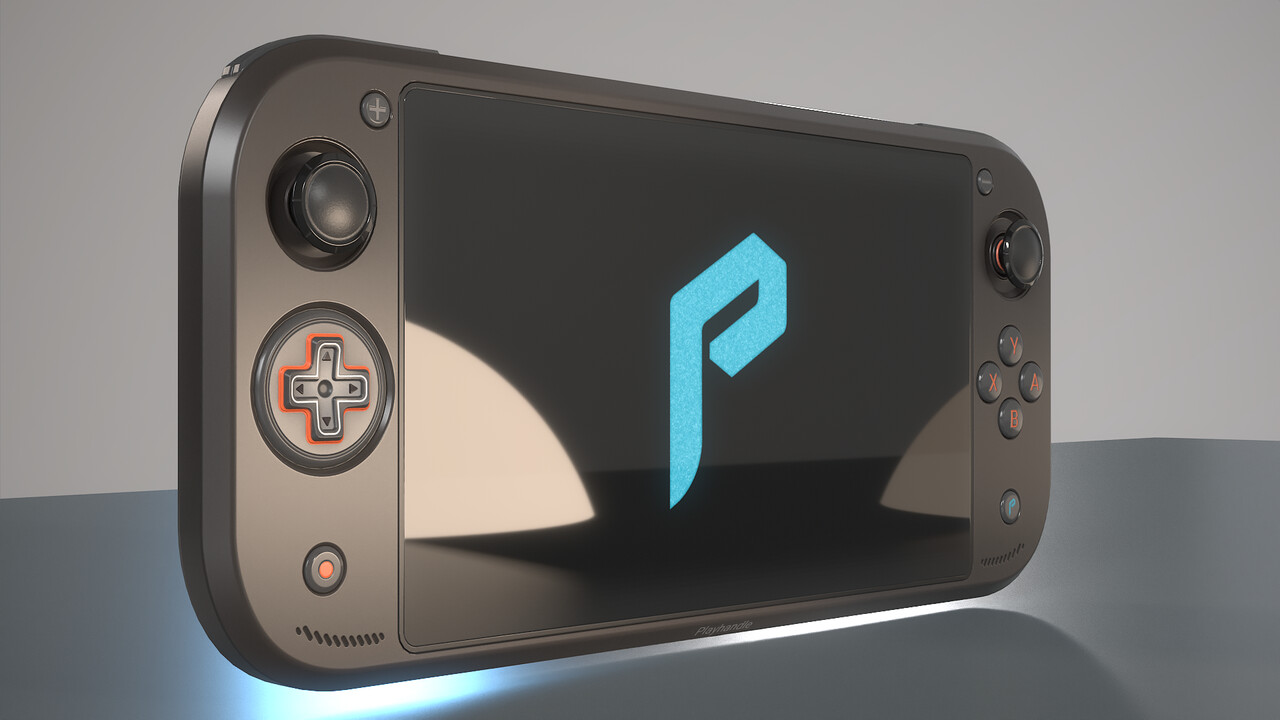
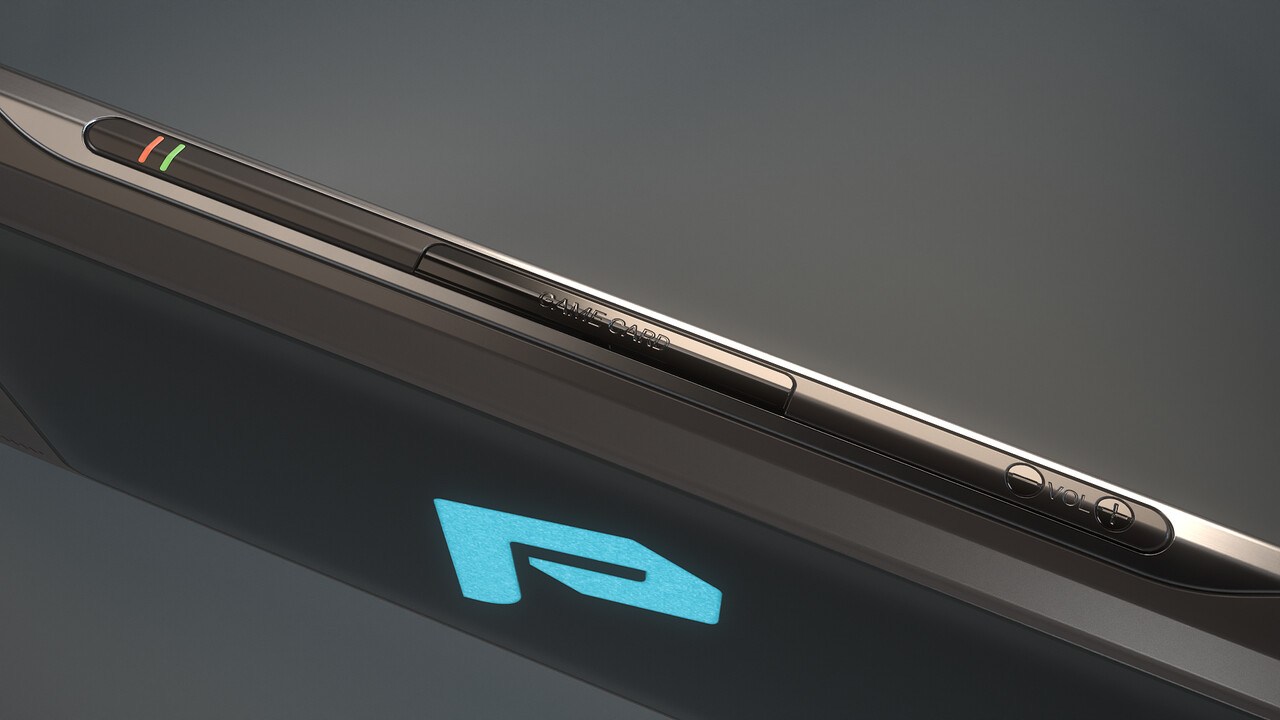
Did some basic renders of a work in progress Handheld. I will upload this piece soon. 

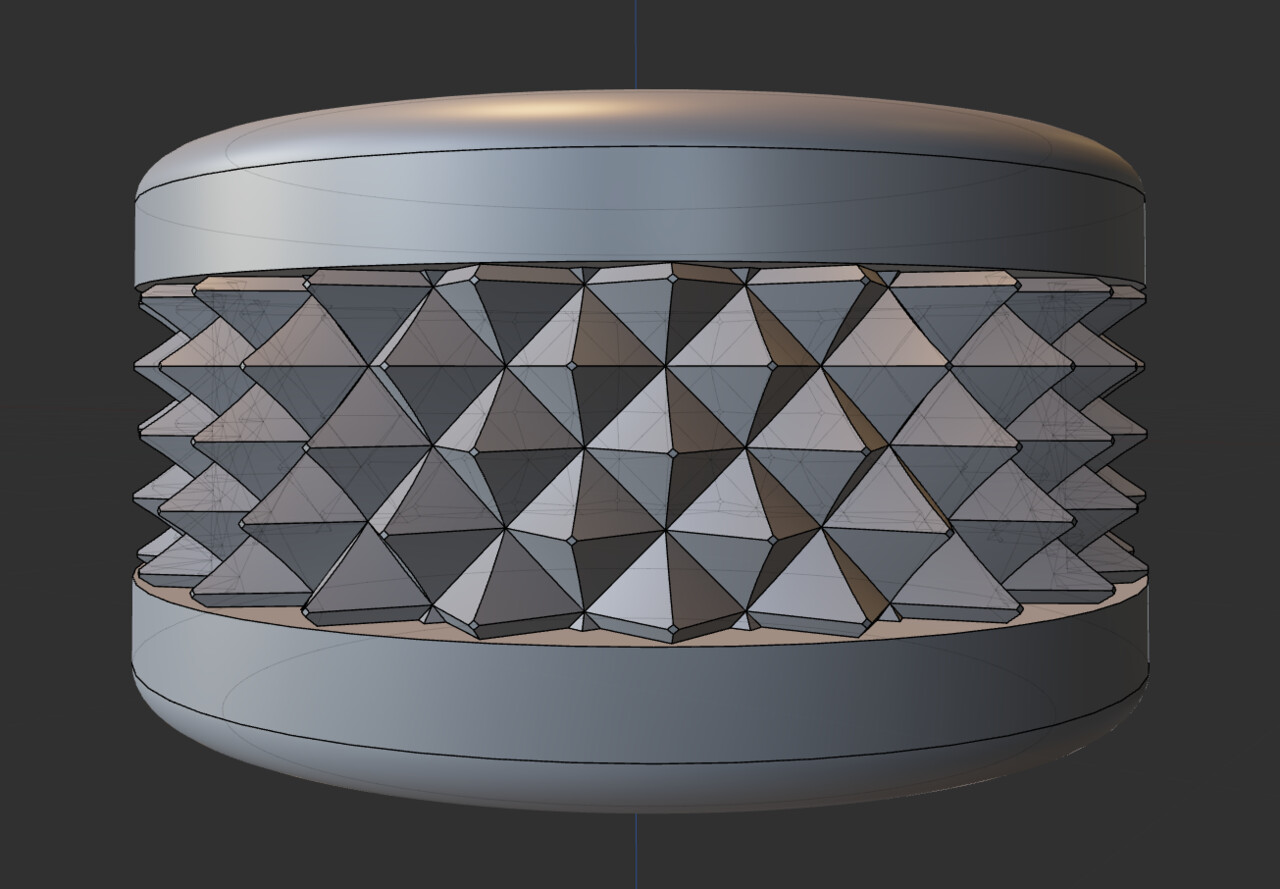
Plasticity Sketches 01

General / 26 December 2023


Currently I am learning some Plasticity, a CAD designed from the ground up to be more friendly for artists. I have only done a few exercises following https://www.youtube.com/@nikita.kapustin


He seems he has been using Plasticity for a few months already and has a lot to teach. I am not entirely sure on his teaching techniques as he rambles a lot and lacks structure, however it is currently the only You Tuber that has content to show, if anyone has anything to share on Plasticity in terms of tutorials, let me know! He also has a  a tutorial site at https://www.skool.com with Ultimate 3D. 


https://www.instagram.com/p/CvzeFVkLqoL/

I hope with time that I can focus on hard surface modelling with a combination of Blender, Plasticity, 3D Coat with a focus at doing props for some time.  

Because none of this it portfolio focused I shall update it in the Blog or Instagram for now. 

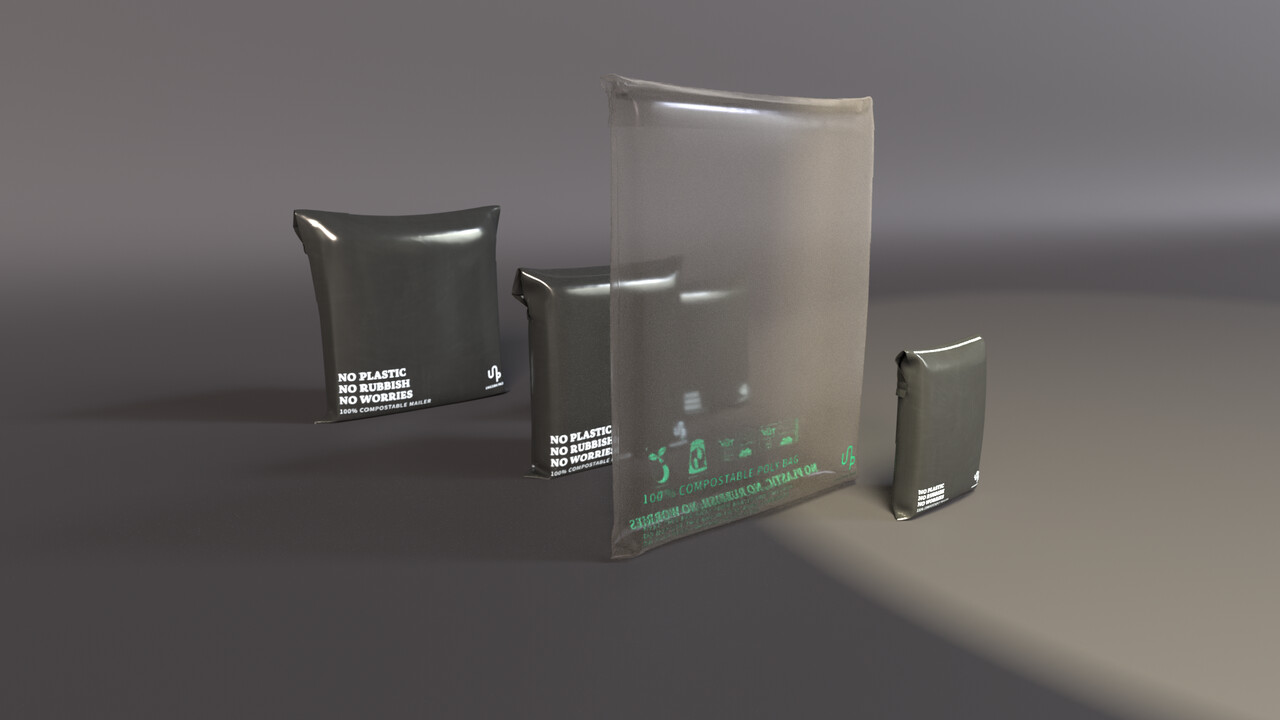
Ncloth experiments, Plus Marvelous Designer Bags

Work In Progress / 12 December 2023

Hello everyone! I wanted to start using more often the DEV Blog on Artstation to show updates of what I have been doing lately. 

Things that I have been learning lately:

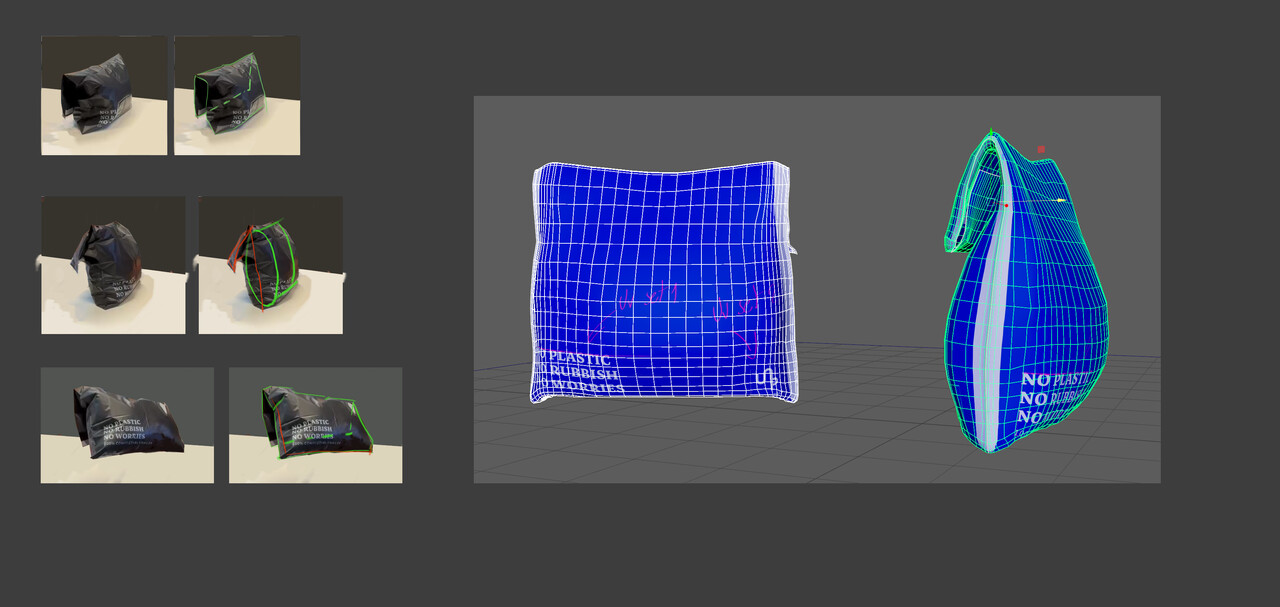
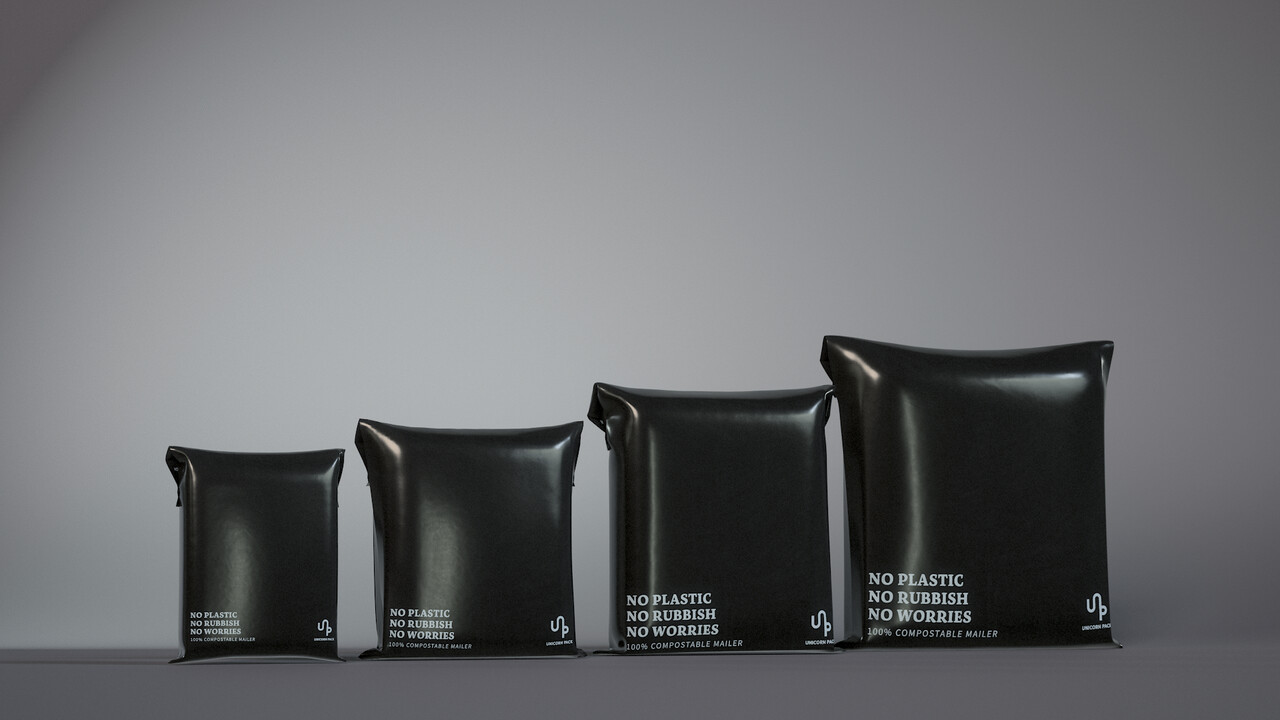
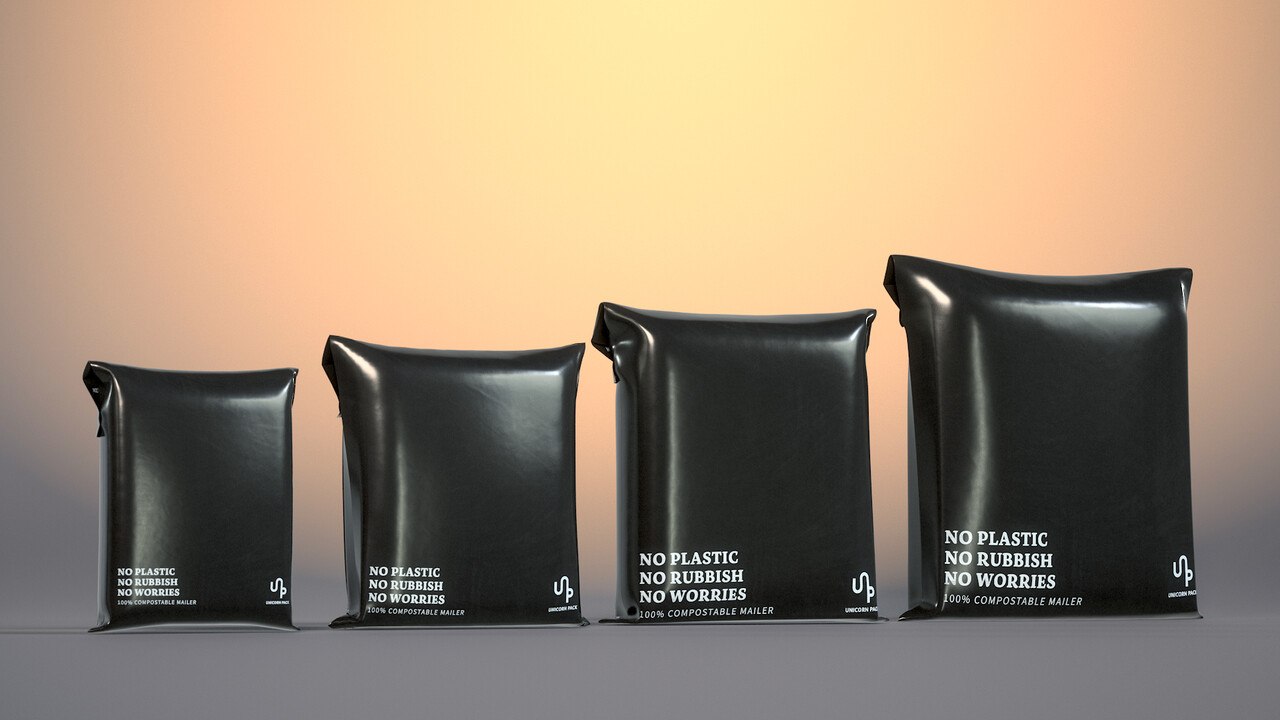
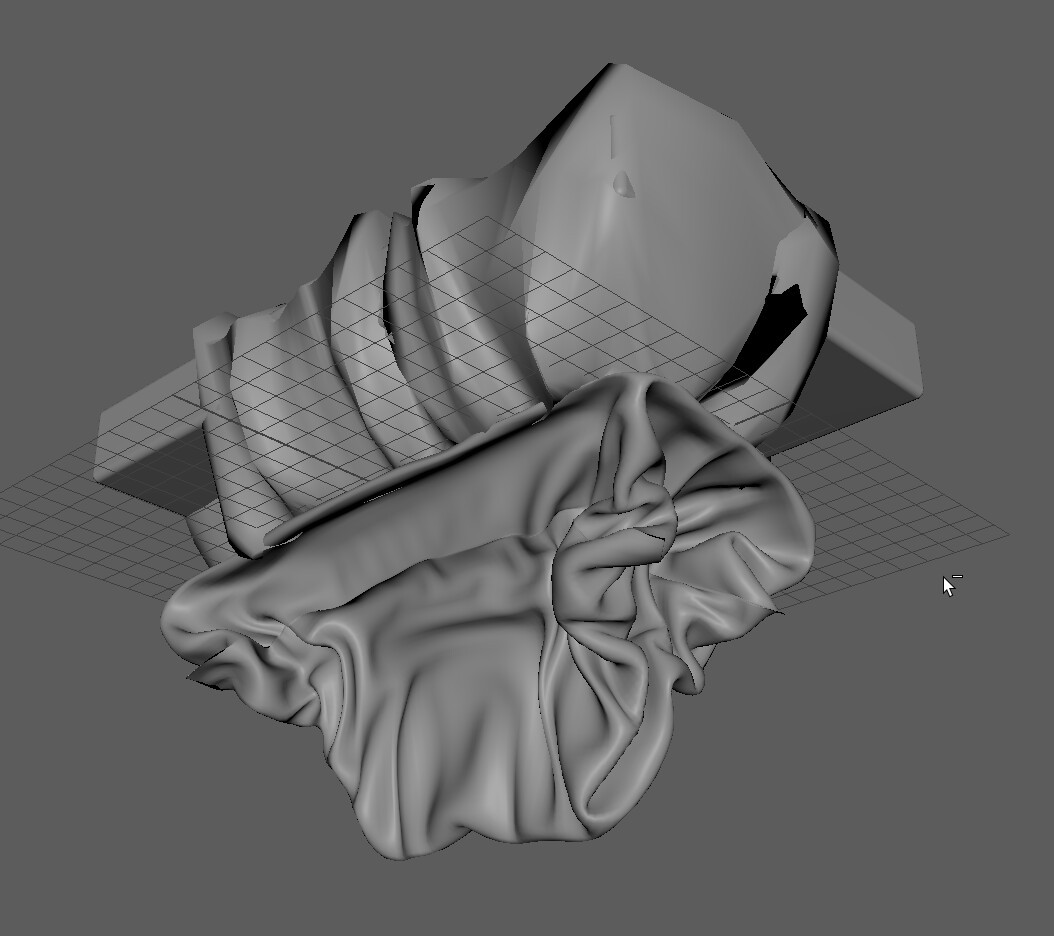
I have been doing some cloth simulation with Maya. And I cam up with some interesting results. However I decided after experimenting with Zbrush as well, to go with Marvellous Designer. 

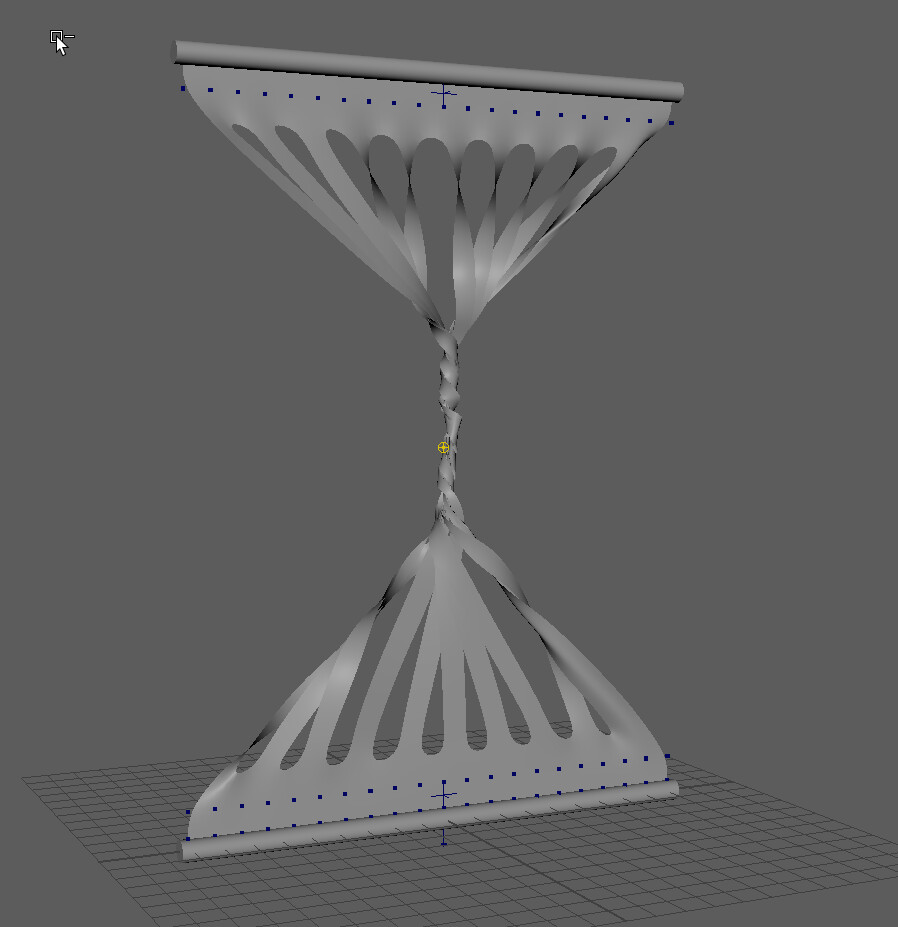
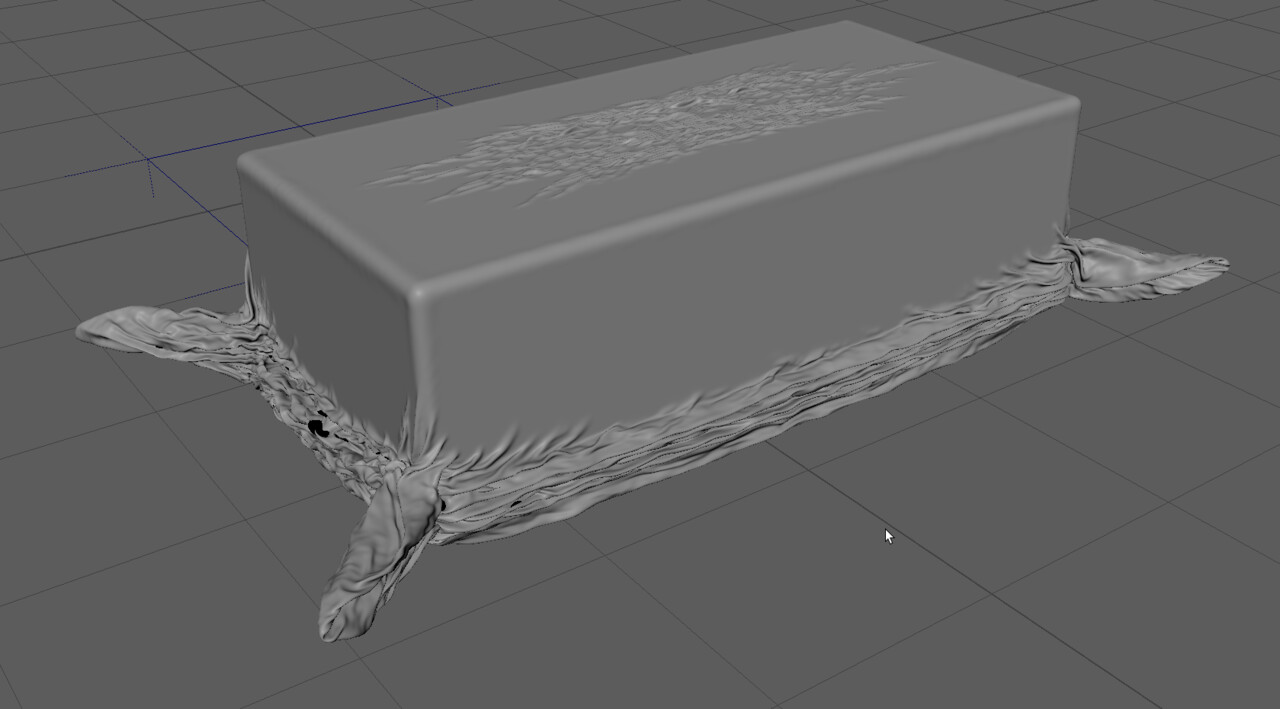
One of the first so so successfull tests that I did with NCloth
Not entirely sure what happened here, but it was fun!
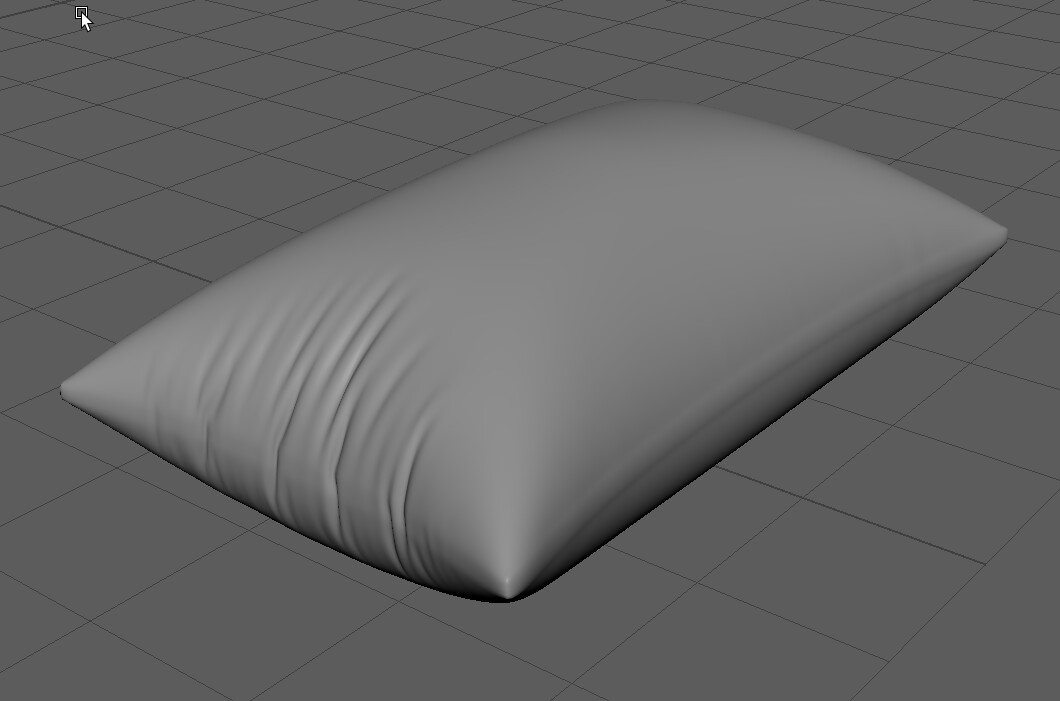
Followed tips to make a cushion. 
Did some experimentation. 

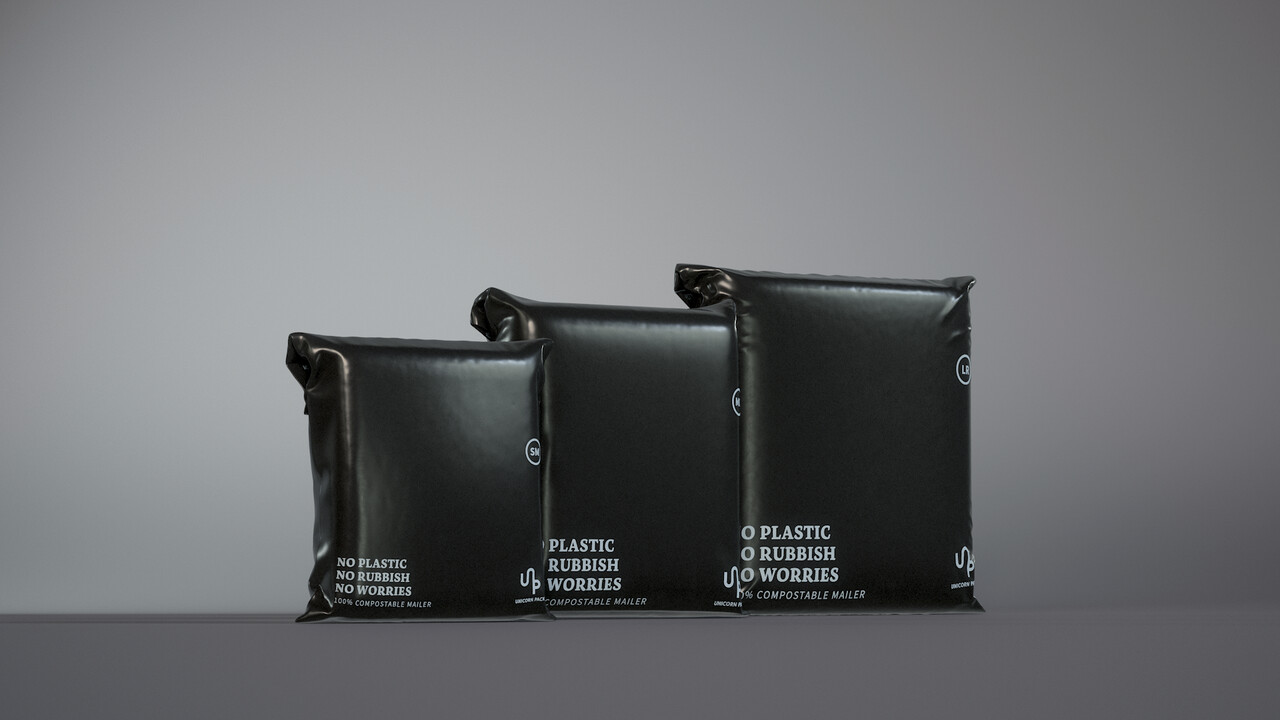
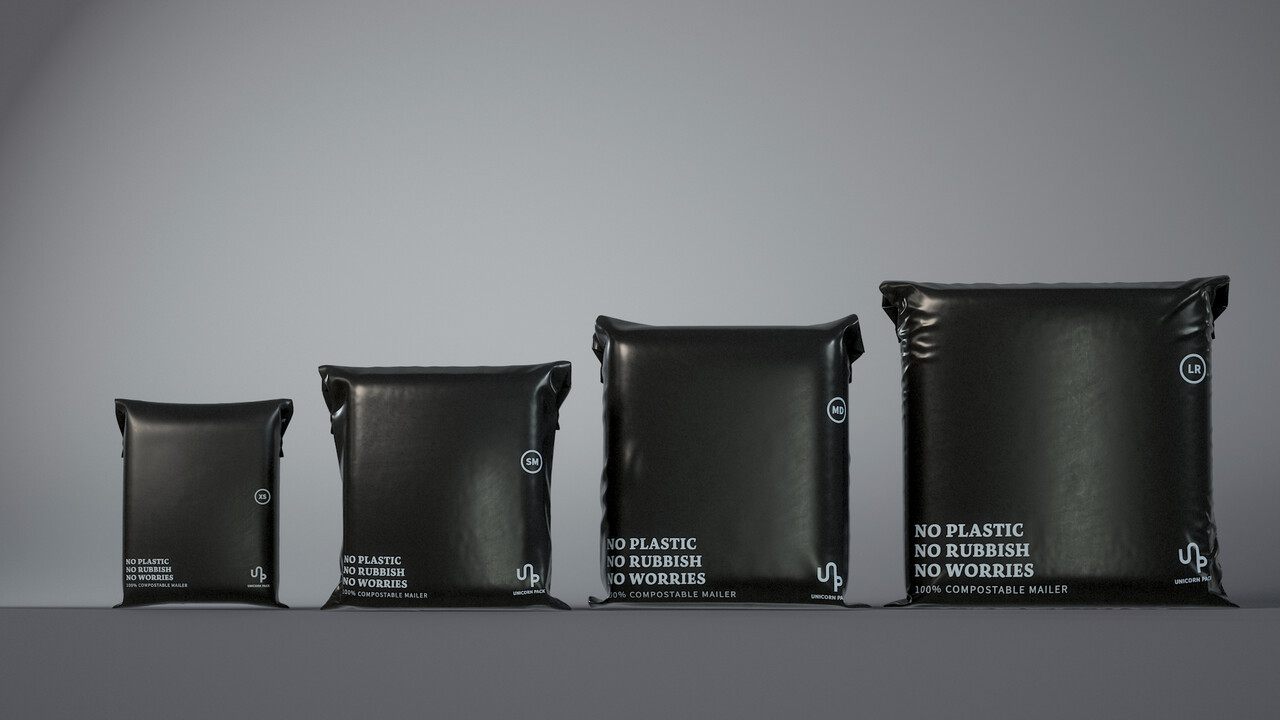
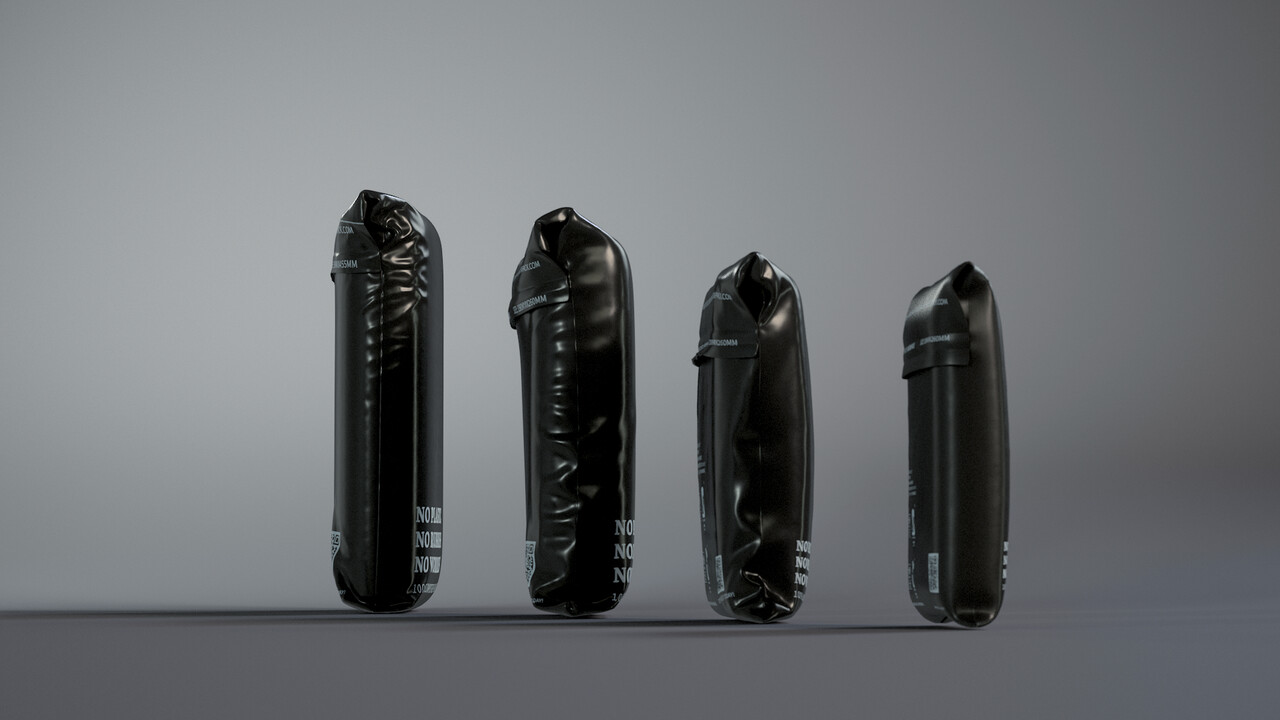
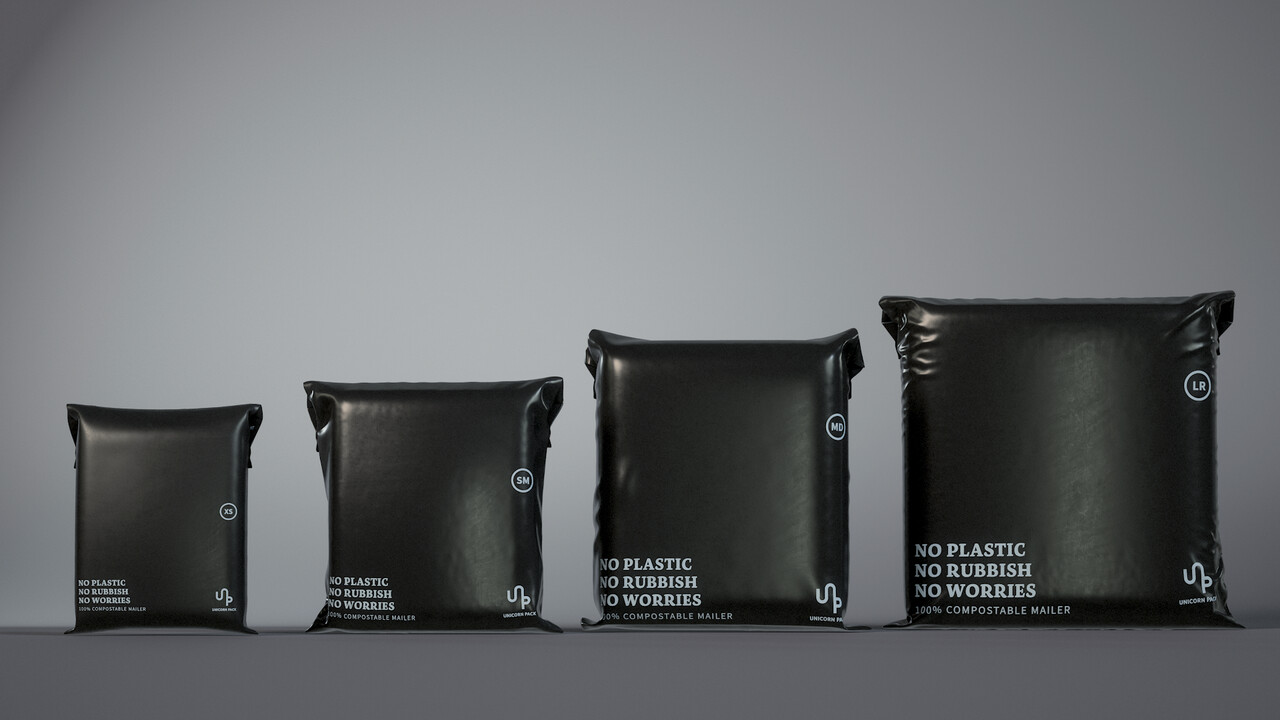
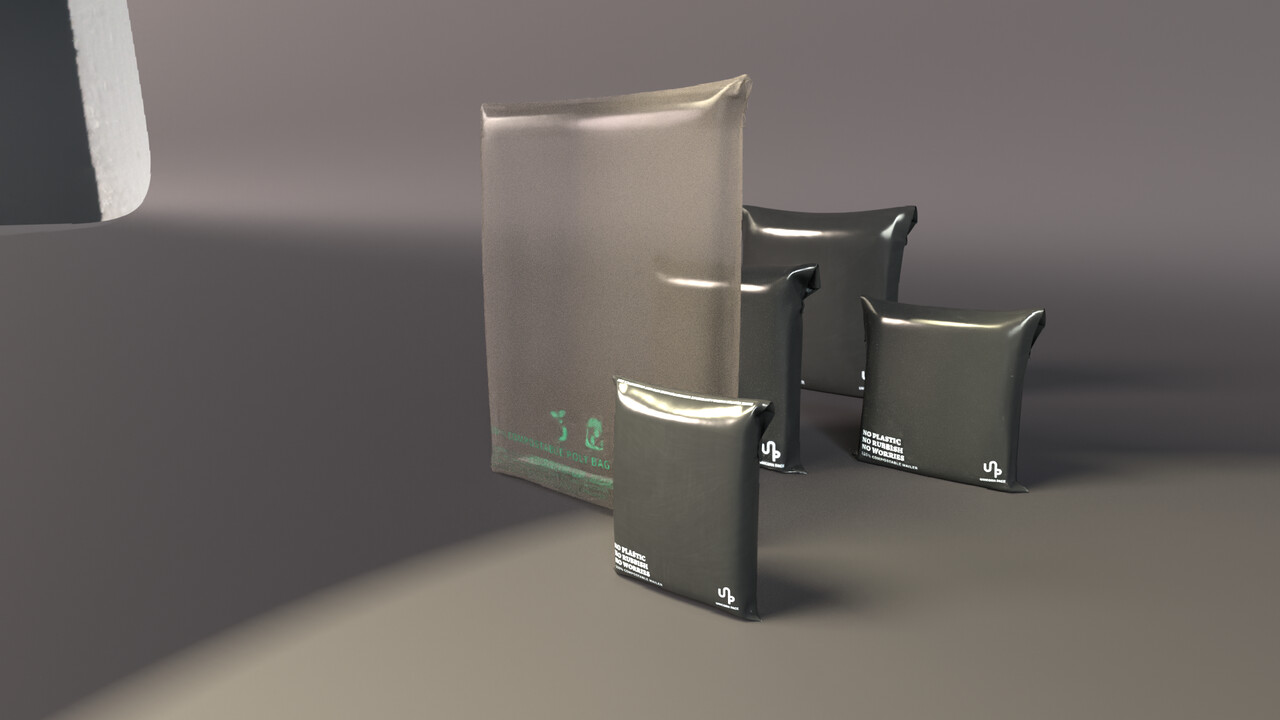
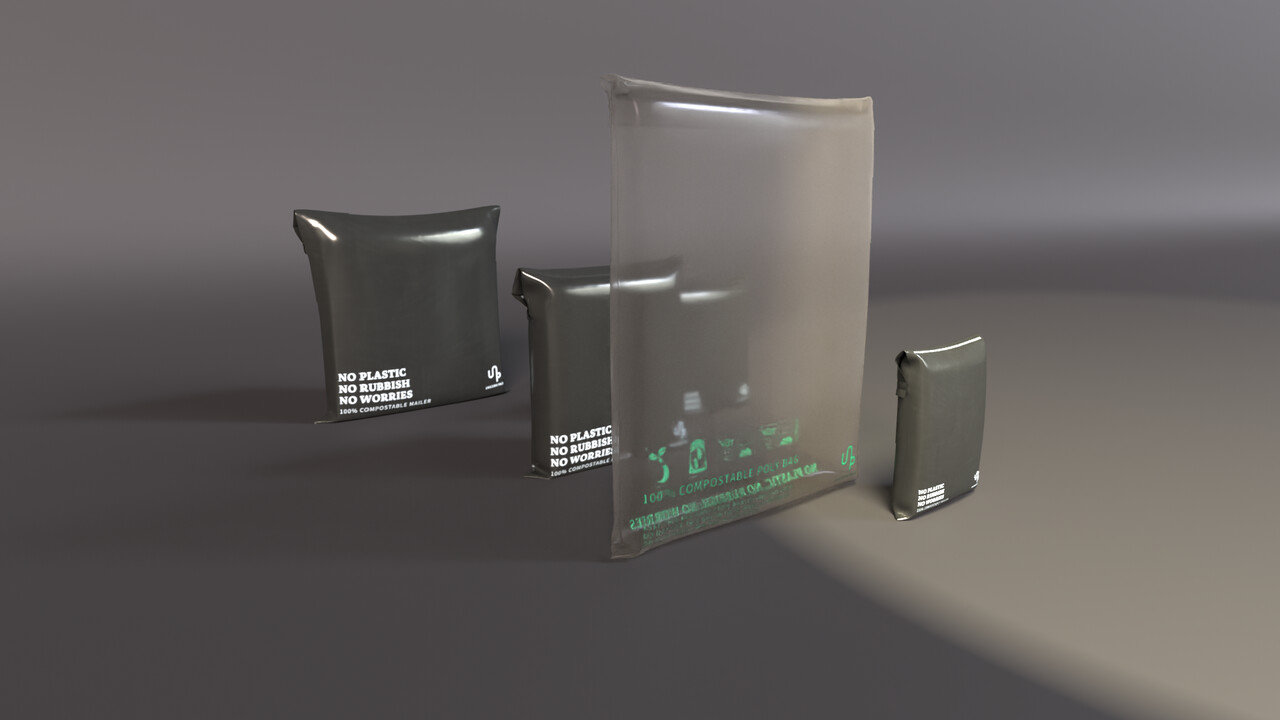
However these was all R&D tests, and after lots and lots of tests, I decided to use alternative and faster means after a lot of iterations on the bags. 
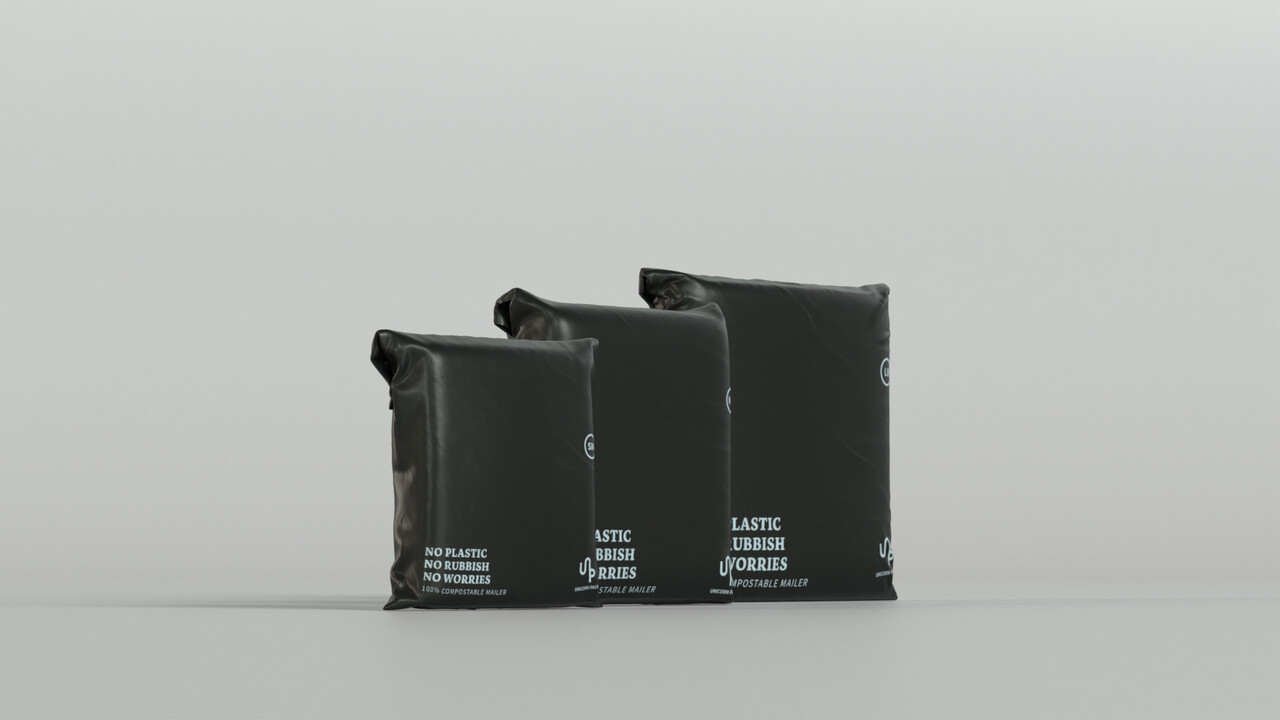
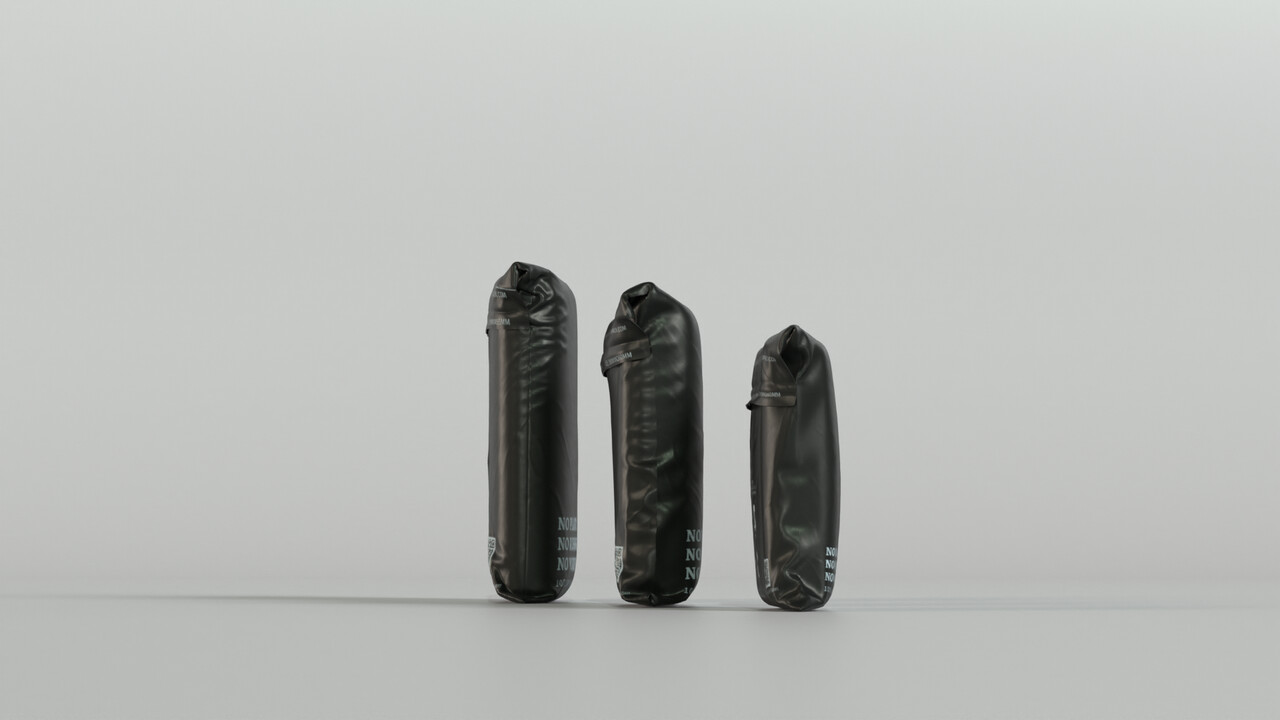
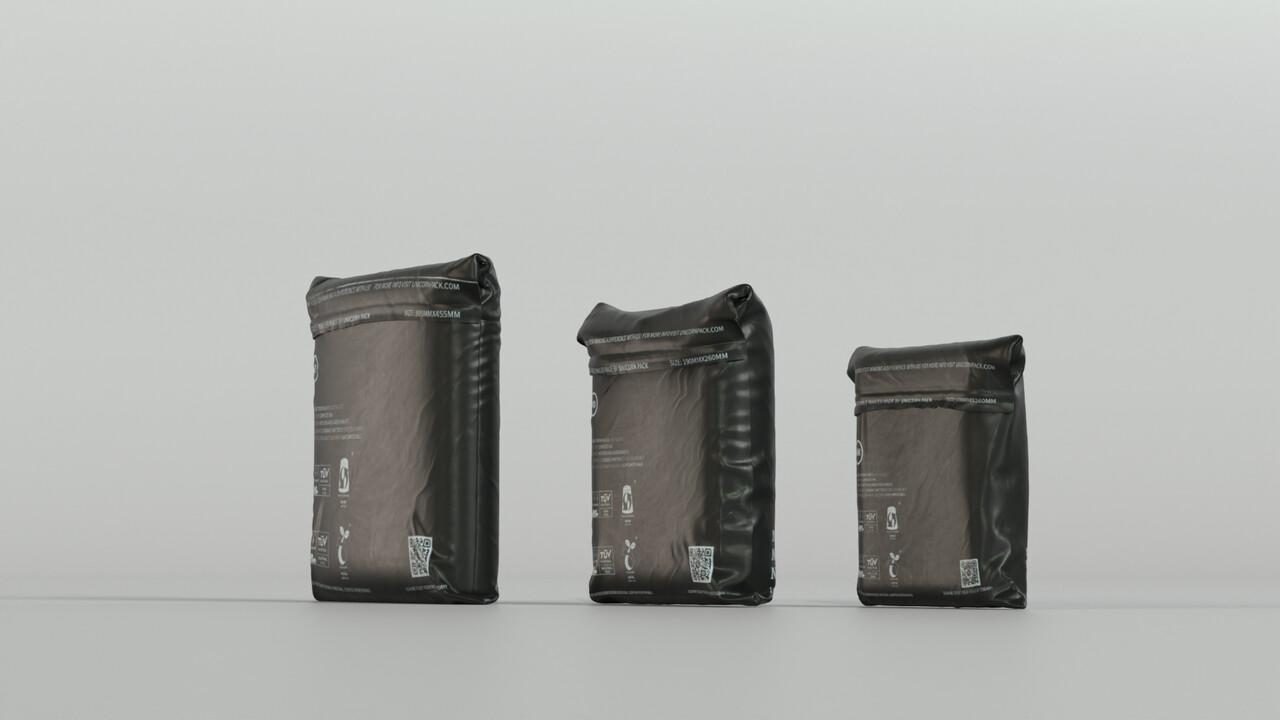
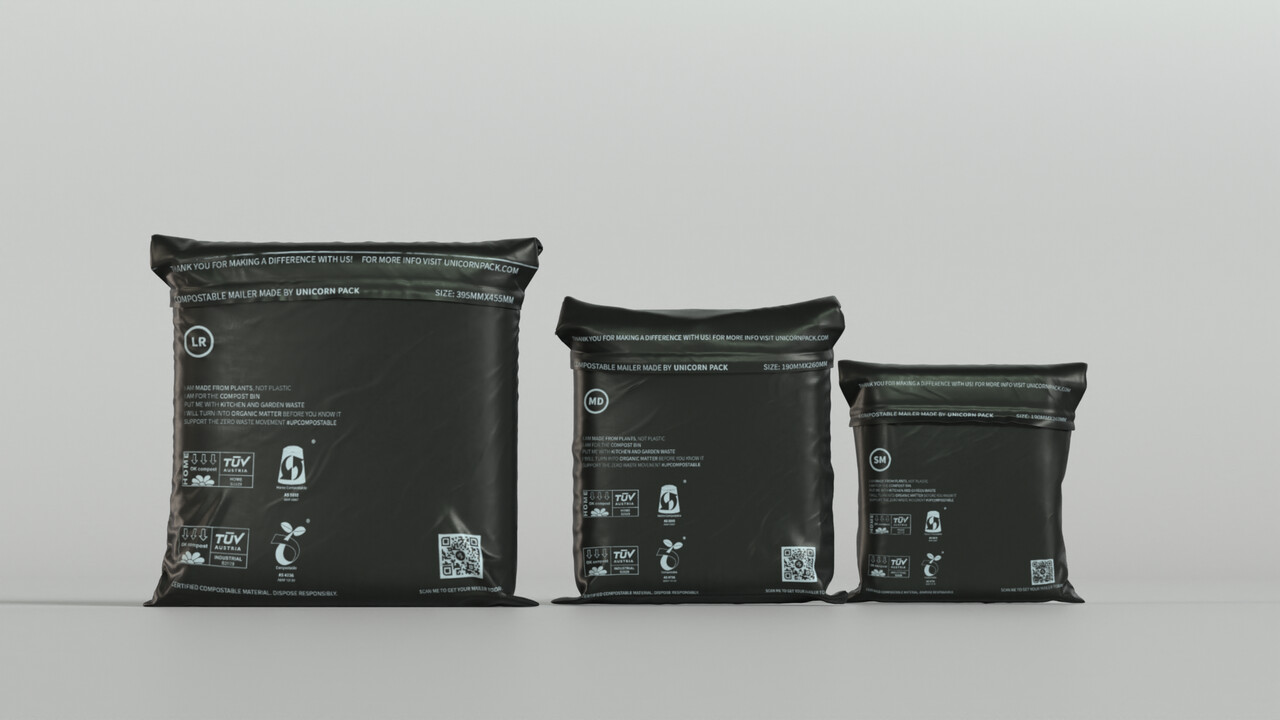
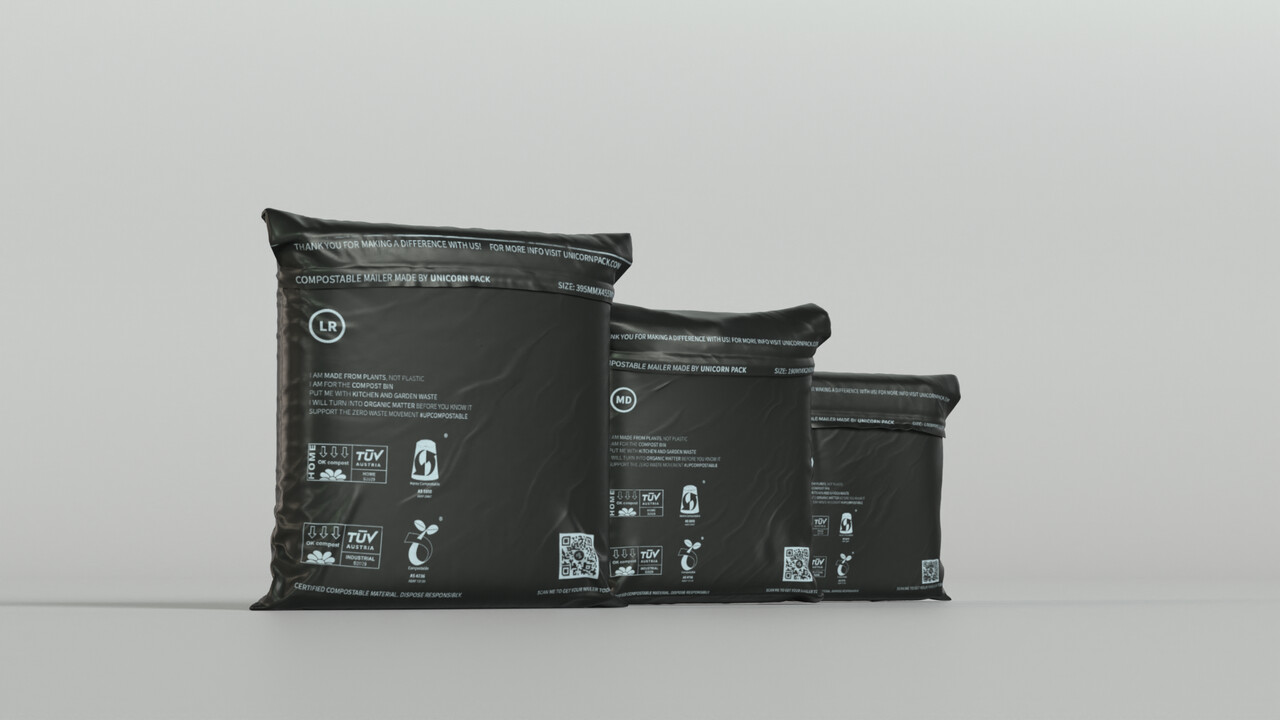
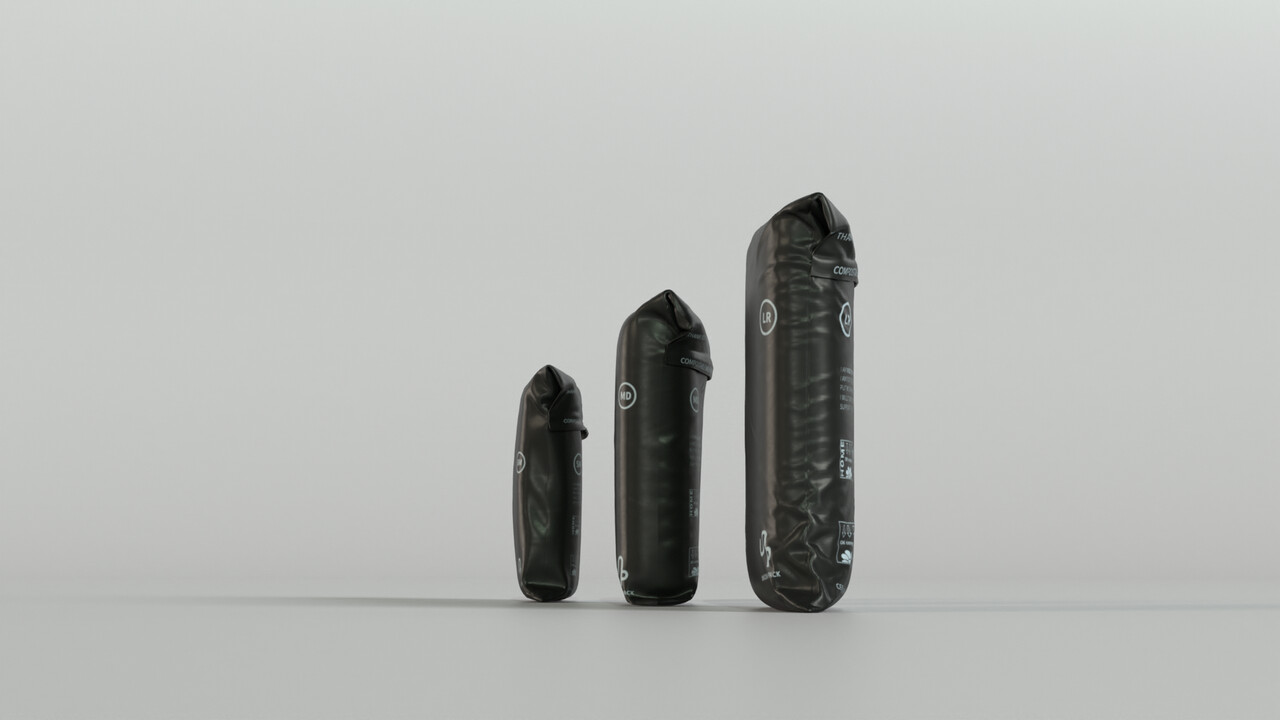
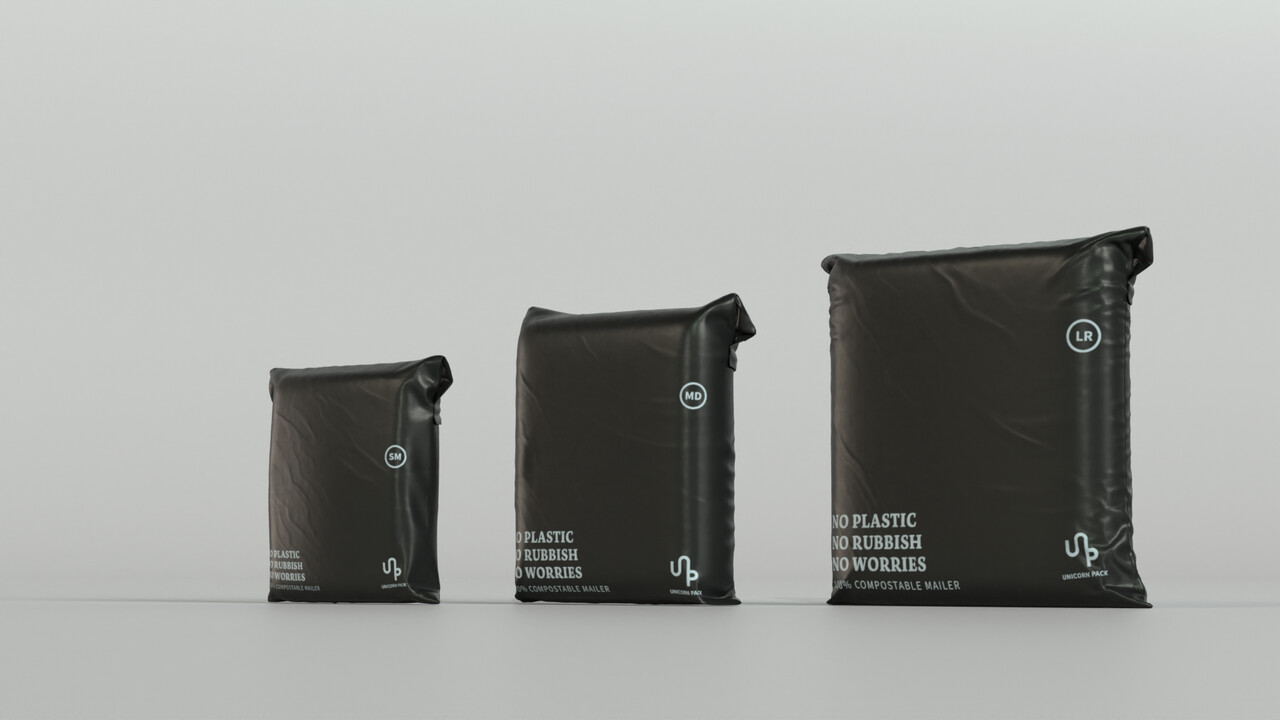
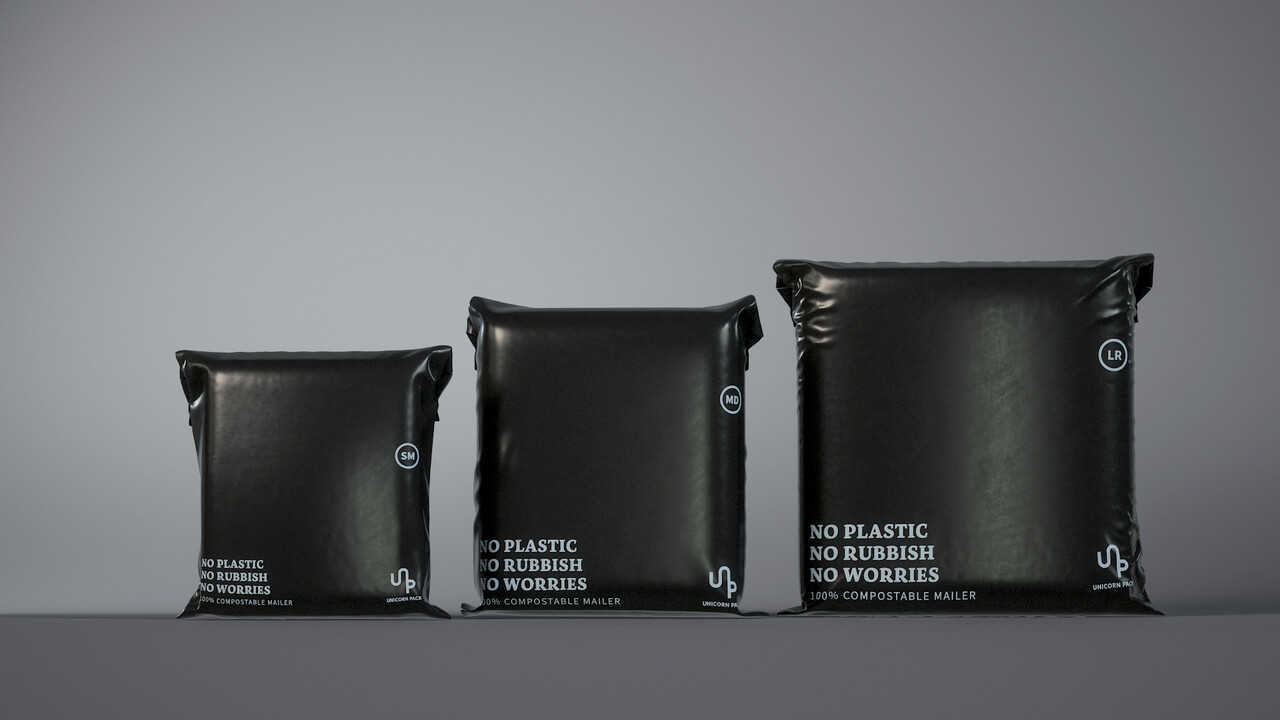
These are of course all work in progress and we were trying to get the Look. In the end I got a much better result using Marvellous. This was an interesting test because I was aiming for reality while still having perfect look that was close enough. 

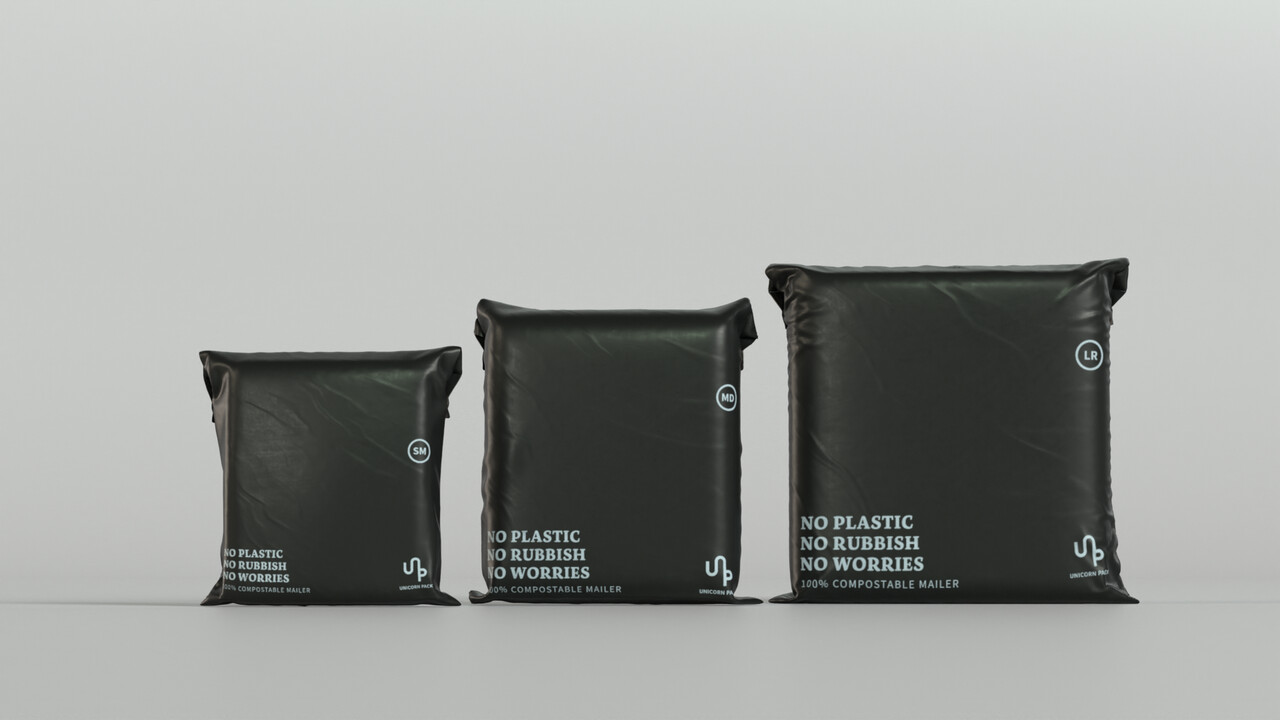
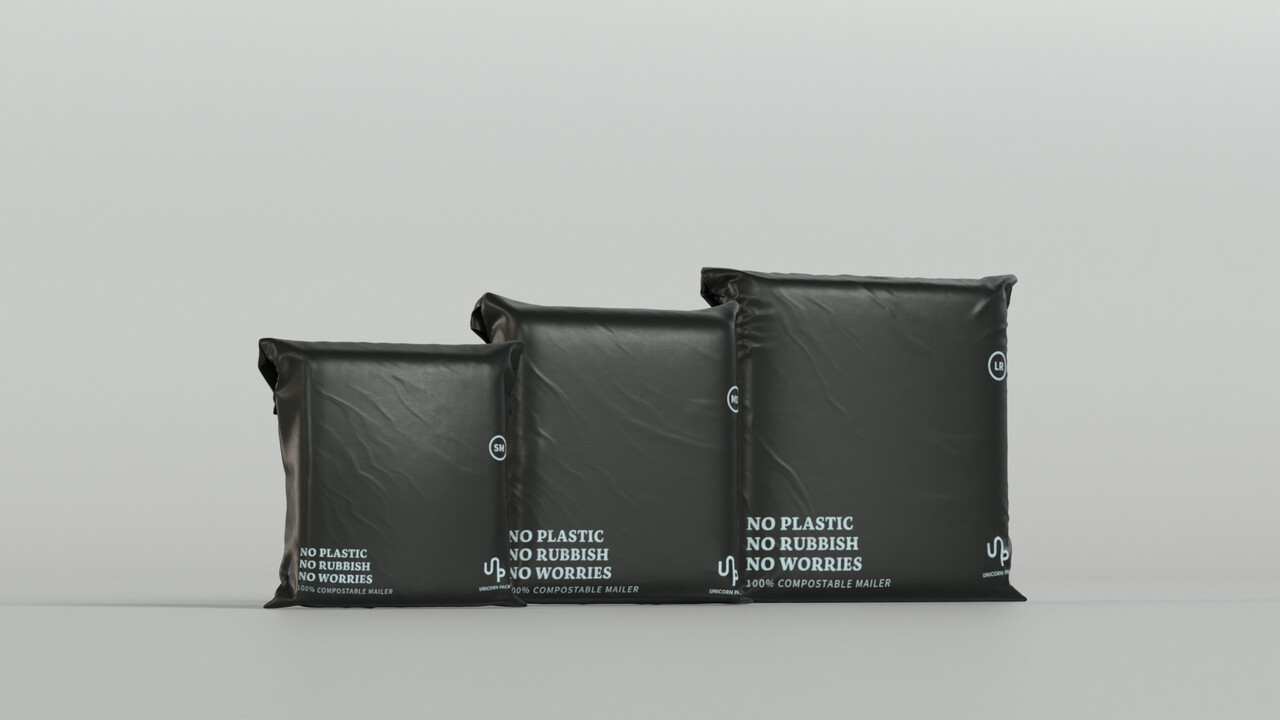
The following images were rendering in Marmoset Toolbag. It was much faster and it gives great results. I also did the textures in Substance Designer. I have used it before but, not do this level. 


However unfortunately the client wanted a "perfect" look that took away all the detail leaving something more bland. These will not be the bags that I will decide to use in the end in my portfolio because they look way too sterile and boring. I will however remove their logo and make up another brand to showcase it. 


Other than this, I have also been learning Blender, Substance Designer, Plasticity, Fluid effects. It has been a really productive few weeks. 


Career Journey Reflection 2022-2023 - Rebranding to paco3d.art

Article / 07 July 2023

I have a unique and diverse work history that has spanned nearly a decade in the industry since my graduation on 12/12/2012. Even before diving into 3D work, I explored various creative avenues such as concept art, digital painting, graphic design, and web design. From a young age, I was captivated by software like Photoshop and Flash, which fueled my passion for learning. Looking back, it's interesting to see how my journey started at the age of 12 with an eagerness to experiment and delve into these programs.

In 2010, I embarked on a computer graphics course alongside a talented group of 60 students. Although the curriculum included some questionable theory-based classes like "imaging" or "media cultures," which I personally found unnecessary, the experience proved valuable overall. Thankfully, I had exceptional teachers like Chad, Connor, and Darren who provided guidance and insight into various software tools, industry standards, and employment prospects.

However, upon graduating, I sensed a feeling of incompleteness. While I received a diploma that declared me a Digital Artist (or rather, Graphic Designer due to a course change midway), I believed there was still so much more to learn. Skills like baking high to low poly models and utilizing programs like Substance Painter were emerging, leaving my portfolio feeling inadequate. I also lacked the necessary expertise in areas such as animation, pre-production techniques, and portfolio presentation, leaving me uncertain about my next steps in the professional world.

Some great friendly faces in our last year of RMIT in the year 2012 

Fortunately, I never lost my determination. Before fully embracing freelancing, I spent 15 years working in the hospitality industry. My parents owned four restaurants at one point, and although my father had a manipulative streak, which led to me working countless nights for his businesses without pay (aside from some pocket money and perks), I eventually found employment with him in Coffs Harbour, Australia. It wasn't until I saved up enough to venture out on my own, paving my own path in a city of my choosing, that I began pursuing my dreams. It took three years to enroll in a degree program after freeing myself from his grasp. Upon completing my degree, I realized that the last thing I wanted was to continue working in hospitality, which, ironically, was where I ended up after graduation. It took another three years of juggling part-time hospitality work until I secured a full-time job.

During the period from 2013 to 2016, I did work part-time, and it was thanks to the assistance of my friend Nick, whom I met at university, that I found the right path towards acquiring the necessary skills for job opportunities. In his small apartment, we sat down together as he loaded 3Ds Max, guiding me towards using the software effectively. With genuine kindness, he advised me that with my current skill set, he couldn't recommend me for the position he held at the time. It became clear that I needed to master an entirely new 3D modeling kit, namely 3Ds Max and Topogun. A month later, in 2013, I traveled to Spain where I spent two months immersing myself in learning 3Ds Max and Topogun, armed with a borrowed, oversized laptop from a friend while visiting my family.

Doing 3D shoes felt like doing space ships. The detail was just so abstract and was pretty surreal.

Fortunately, upon my return, I had amassed enough evidence of my skills and knowledge to secure my first freelancing gig at ZO, where I focused on shoe retopology. It was a moment of immense joy as I finally broke into the industry. Admittedly, the job wasn't ideal. The computers were slow, operating on outdated software like Max 2010, and the deadlines were tight. In fact, the pressure was so intense that it fueled my impostor syndrome, leaving me plagued by self-doubt and fears of being too slow.

Throughout my years of freelancing, I encountered various challenges. I worked on mediocre shoe projects, endured demanding clients who expected lightning-fast results for minimal pay, and received emails filled with criticism. It became clear that there were knowledge gaps I needed to address and insecurities I had to overcome. Despite these hurdles, between 2016 and 2019, I had the opportunity to contribute to intriguing projects, including ventures into VR and AR for a diverse range of clients, as well as engaging urban landscaping endeavors.

In 2019, following my first freelancing job in Sydney, I faced one of my most challenging experiences. I found myself in a small team consisting of only one artist (myself) and one programmer, working on a project with an incredibly short deadline. The task was to create 13 simple VR environments optimized for the Quest within six weeks. I had a plan and a clear scope, fully confident in my abilities. Unfortunately, the project manager had unrealistic expectations and continuously introduced changes. Despite my pleas to wrap up the project before the deadline, she insisted on adding alterations until everything was completed. This toxic environment left me feeling bitter and depressed for months, making me question my career choice. I took on a few more freelancing jobs in Sydney until the COVID-19 pandemic struck, causing all work opportunities to dry up.

During the downtime while searching for new work, I devoted time to further self-training. It was during this period that I decided to pursue stable employment and seek a full-time job for security. That's when AIE advertised a teaching role as a trainer, which a friend recommended to me. Intrigued by the prospect of becoming a good teacher and sharing my knowledge, I applied for the position. Thankfully, after my second attempt, I landed the job in April 2020.

And boy, was I mistaken! Teaching turned out to be an incredibly challenging job, and it opened my eyes to the vast amount of knowledge I had yet to acquire in my skill set.

The list of subjects I had to learn and prepare myself to teach seemed endless. From character sculpting and anatomy using Zbrush to rigging with bones, skinning, controllers, and IK, from character retopology with proper topology flow to animation principles and character animation, and even rendering for film using Renderman and compositing in Nuke. It was a whole new array of skills to master. At first, it felt like I was going back to university while simultaneously teaching and providing valuable feedback and assessments. I struggled in the beginning and often questioned whether I was cut out for the task. However, I persevered and pushed myself to do my best, putting in extra hours of overtime to compensate for any knowledge gaps I had.

After three years in this role, I have grown into a confident and passionate teacher who truly loves their job. The work my students have produced during my time here speaks volumes about their progress. I owe a great deal of gratitude to Lyle, Dan, and Yoav, who have also provided invaluable support over the past two years. These portfolio pieces showcase the work created under my guidance in my classes, as I teach many subjects at AIE. Initially, I had a lot to learn as an educator, refining my sense of hierarchy and structure, and learning to pace myself to ensure effective teaching.

Not only have I become proficient in these skills and in teaching, but I also witness the incredible growth of my students as they excel in their projects. Many of these pieces are their first-ever works since joining the program in their first year. I take immense pride in being their mentor, teacher, and project manager throughout these assessments.

Now, after three years at AIE Sydney, I am ready to dedicate time to showcase my own skills by creating new portfolio pieces. I admit that I have been rather silent on the portfolio front, both on ArtStation and my blog. However, I'm excited to announce a forthcoming change. I will eventually transition from hosting at pacocasares.com to the new brand, paco3d.art, with a rebranding effort. I aim to focus less on web development using Wordpress and instead utilize ArtStation, which provides everything I need for a portfolio and blog site. The rebranding will emphasize simplicity while clearly representing XYZ RGB 3D, while remaining friendly to Vector 2D art. Additionally, I intend to establish a brand bible to maintain consistent standards in showcasing my work.

Time for a rebrand. Something super simple. Surely people will remember this url, right?

Paco 3D.Art may be simple and straightforward, but it's a name that's easy to remember and establish as a brand.

Currently, my main focus is on creating characters with proper anatomy, preferably in a stylized manner. Despite feeling more grounded in my overall skill set, I want to explore this avenue further. I have been self-teaching anatomy, and now I'm eager to dive into the realm of stylized texturing using tools.

It has been an incredible journey thus far, and I am truly content with the progress I have made. Although it took time to reach this point, I am grateful for the path I have traveled. I hope to continue on this trajectory and reach new exciting heights in my career. It feels like I have transitioned from Paco the grey to Paco the white, ready to showcase my magic to the world.

Since leaving my role as a trainer at AIE and relocating to Spain to be closer to my family, I have encountered some unexpected challenges in taking a break from teaching and adjusting to a different lifestyle. However, I came here with the hope of finding a moment of rest and inspiration to fully immerse myself in my artwork and studies. Although there have been a few bumps along the way, I am determined to overcome them and establish a system that allows me to focus primarily on art, with a strong emphasis on anatomy and character studies.

I appreciate you taking the time to read this lengthy update, and I look forward to keeping you more informed about my artistic endeavors in the future.

To address this challenge, I have created a dedicated Instagram profile focused on showcasing my work in progress and daily artistic endeavors. The main goal is to share something artistic every day, regardless of its level of completion. This platform serves as a reminder that as long as I engage in art every day, I am making progress and moving forward. The intention is not to showcase "wow factor" artwork, but rather to capture the evolving state of my creative journey. For displaying finished pieces, I will primarily utilize ArtStation.

paco3dart instagram